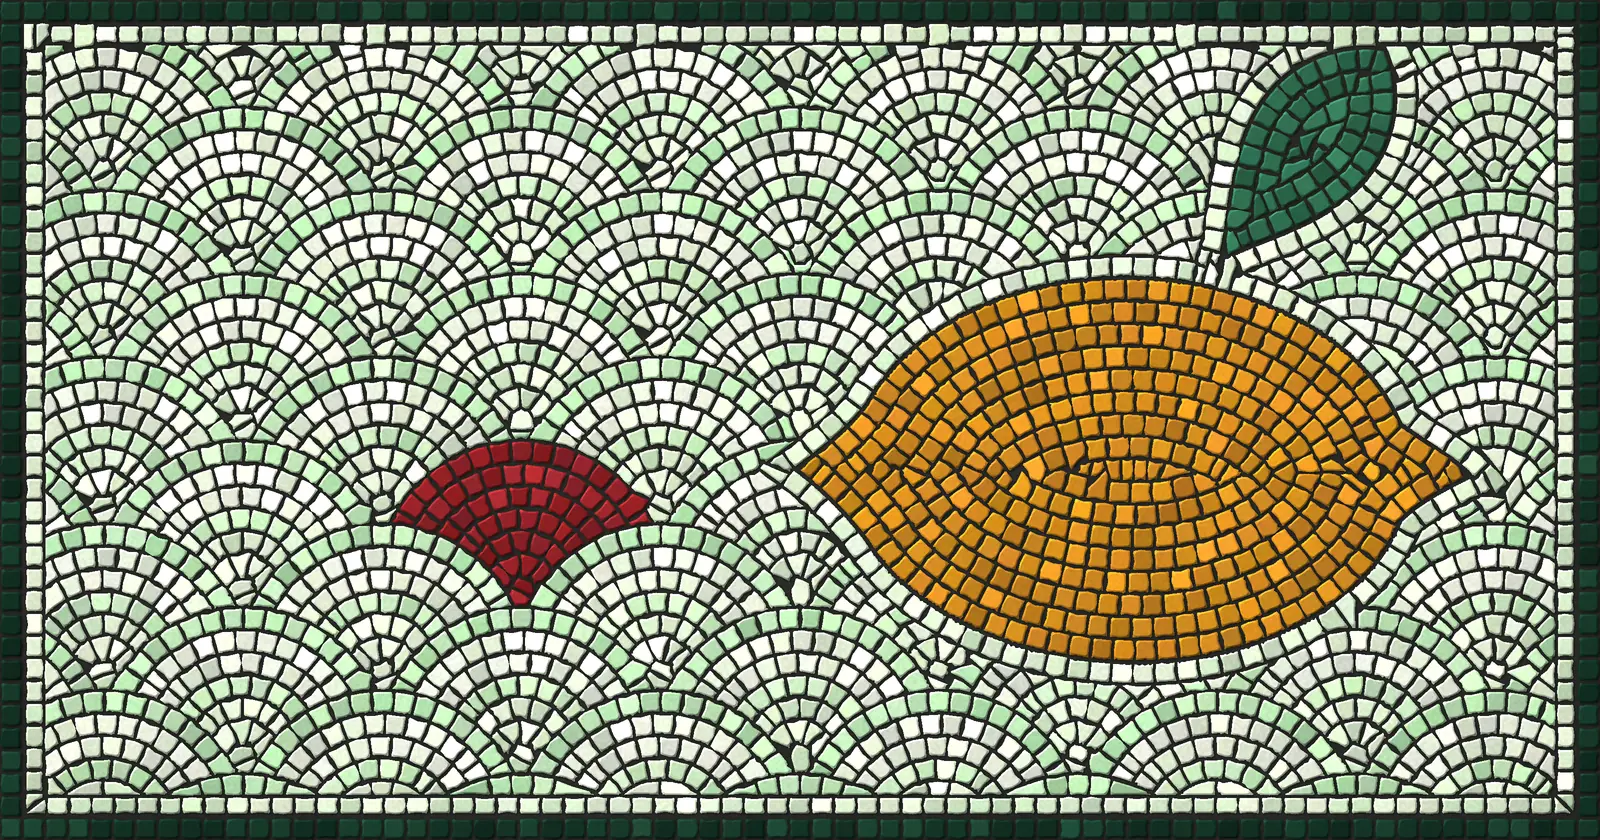
In this guide: every rule that turns a handful of tesserae into a finished mosaic, from one piece and one joint to rows, figures, borders and styles. Each rule is shown in a picture, and all 50 mosaic patterns and diagrams are drawn in one palette, so the difference between them is easy to see.
In short
A mosaic is made of three things: the tesserae, the joint between them and the direction of the rows. That direction is called andamento, and it is what makes a mosaic look alive.
The order of work is always the same: border → outline of the figure → the figure, from its edge to the middle → one outline row → the background.
The background patterns are grid, brick, diagonal, circles, fan and flow. A style is material, color and pattern together.
You can practice all of it in our course The Basics of Mosaic, and sketch a design by these rules in andamento.app.
A mosaic looks complicated until you see how it is built. Any piece, from a Roman floor to a doormat that says Hello, follows the same rules: the size of the tesserae, the width of the joint, the way the rows run, how the figure is separated from the background and how the edge is finished. Read this page in order, like a lesson, or jump to the part you need: background patterns, andamento step by step, types of mosaic or mosaic styles. At the end there are designs for real things — doormats and signs — that show what happens when the rules come together.
The Latin names of the classic techniques, from opus regulatum to opus vermiculatum, are collected in Mosaic setting techniques. This page is the practice: what each pattern looks like and when to use it.
What a mosaic is made of: tesserae, grout and color
A single piece of mosaic is called a tessera (plural tesserae). It can be a cube of smalti, a chip of stone, a glass tile or a shard of ceramic. Three decisions come before the first piece is set: how big the tesserae are, what color the grout will be, and how even the color should look.
Tile size: how much detail a mosaic can hold
The size of the tessera decides how much detail fits into the work. Mosaic artists keep a simple rule in mind: only what is larger than a few pieces will read. A figure needs 12–15 pieces of height; the smallest detail — an eye, a petal, the stem of a letter — needs at least two or three. Anything smaller gets “eaten” by the tile.
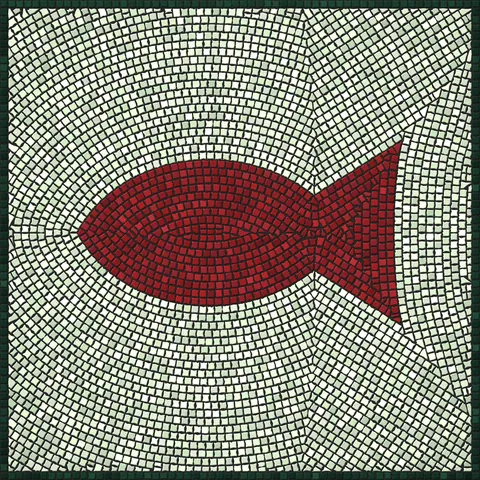
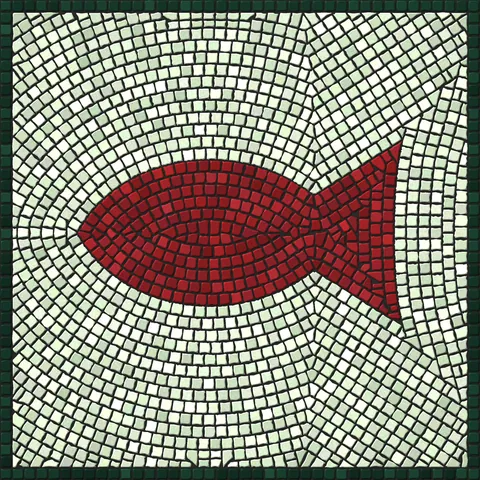
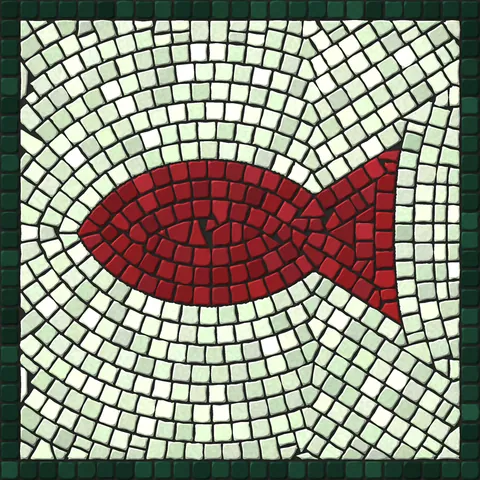
Here is the same fish laid in 8, 12 and 20 mm (5/16, 1/2 and 3/4 in) tesserae. Smaller tiles give finer rows and a smoother outline, but much more work. Larger tiles are coarser, yet every piece shows and the work reads clearly as mosaic. For a first piece most people choose 10–15 mm (3/8–5/8 in), the usual size of smalti and glass tile.
Rule of our workshop
First decide how far away people will stand. A tabletop is seen up close: 10 mm (3/8 in) tesserae. A wall in a hallway is seen from 2 m (6.5 ft) away: 20 mm (3/4 in) and larger.
Grout color: light grout is softer, dark grout is more graphic
There is always a joint between tesserae: 0.5–1.5 mm (1/32–1/16 in) with small tiles and 2–3 mm (about 1/8 in) with large ones. The joint is not a flaw but part of the design. After setting, it is filled with grout, and the grout color changes the whole work. Light grout softens the drawing and pulls a pale background into one field. Dark grout works like a pencil line: every piece is outlined, the rows and the andamento show more, and the mosaic turns graphic.
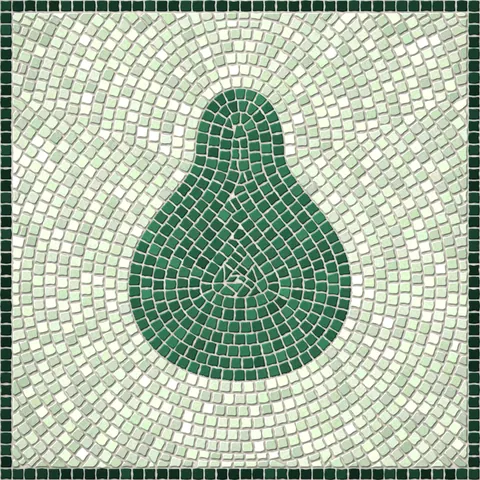
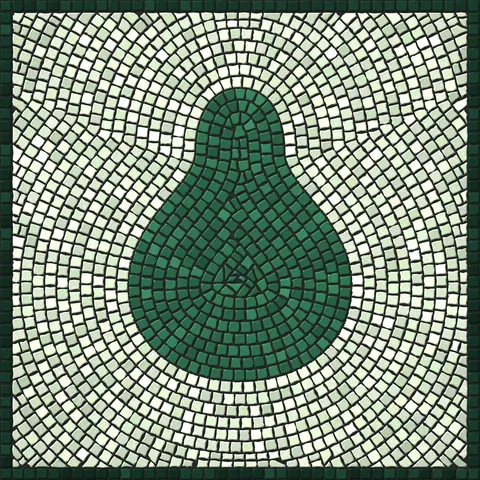
Neutral gray suits almost everything, which is why it is the usual choice for floors. How to grout step by step and how to pick a color for your piece is in How to grout a mosaic. Only flat mosaics are grouted; textured ones, where the tesserae sit at different heights, are usually left without grout.
Living color: why no two pieces look the same
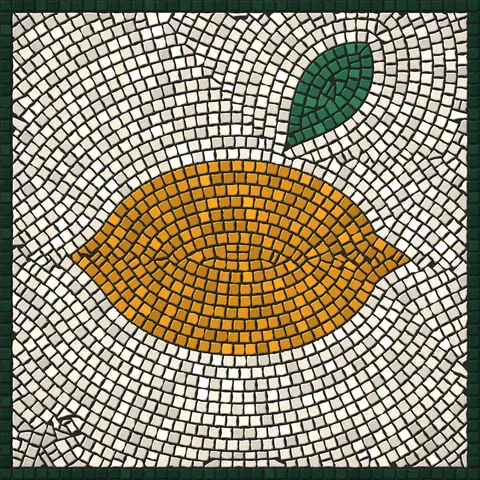
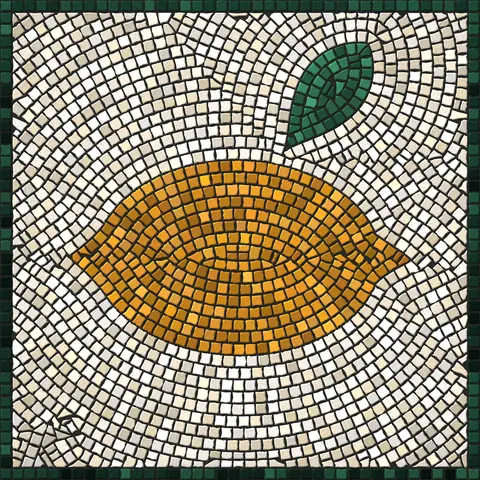
Smalti is made in batches and stone is split from natural blocks, so tesserae of one color always differ a little in shade and lightness. This variation is what makes a mosaic surface alive rather than a flat fill. Compare the two lemons below: on the left the color is “perfect”, on the right it varies like real smalti. When you lay a one-color background, mix pieces from different bags so the variation spreads evenly.
Want to try tile sizes and grout colors before buying anything? The free simulator Andamento Play lets you cut, set and grout smalti, stone and glass on screen, at full size.
Mosaic background patterns: grid, brick, diagonal, circles, fan and flow
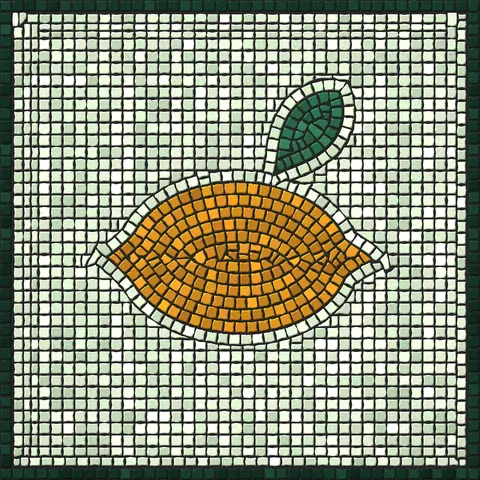
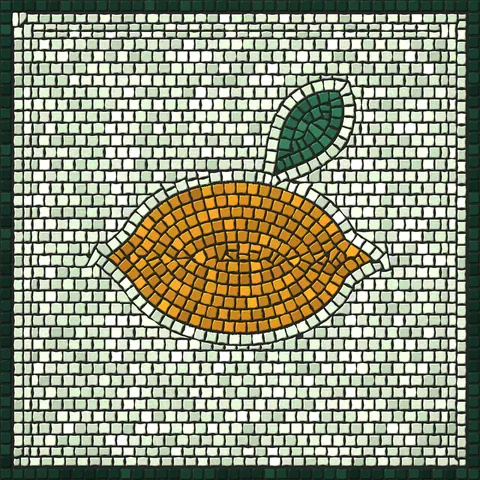
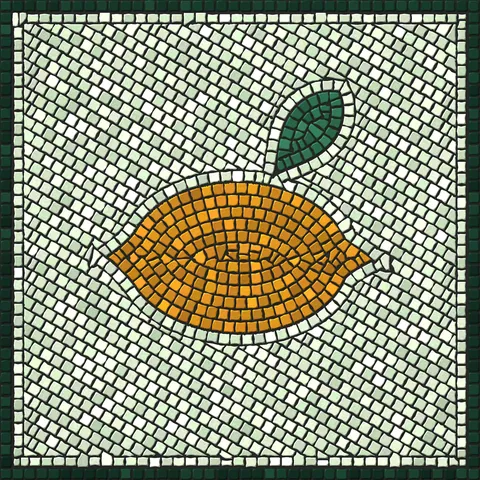
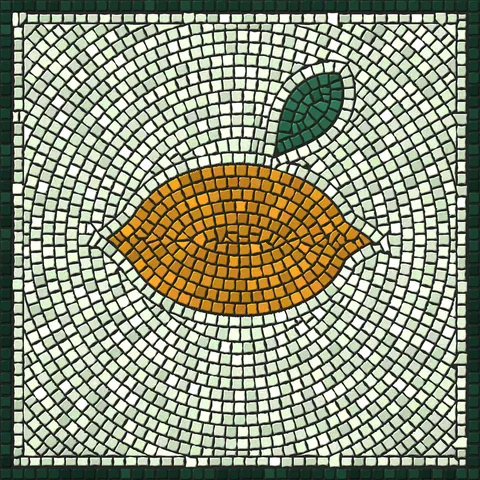
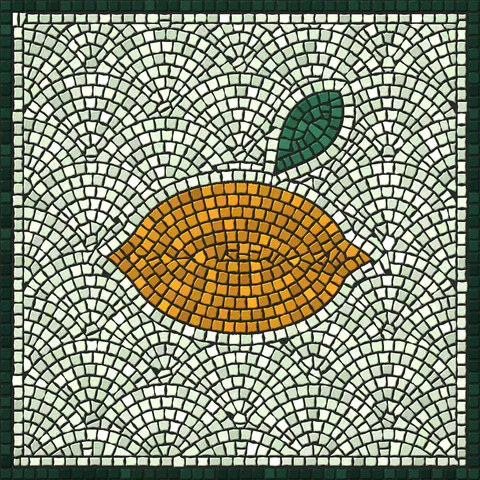
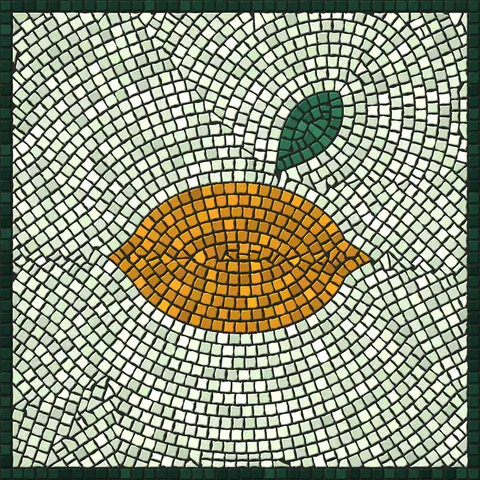
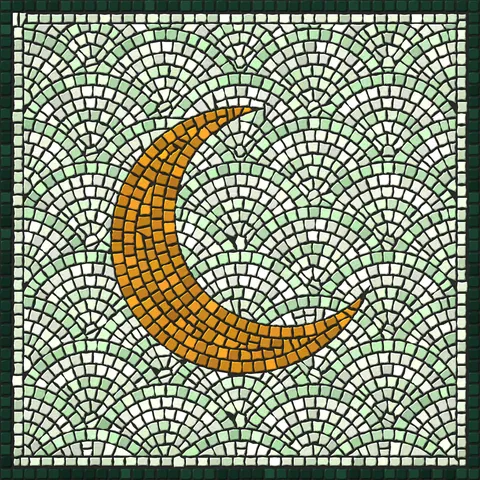
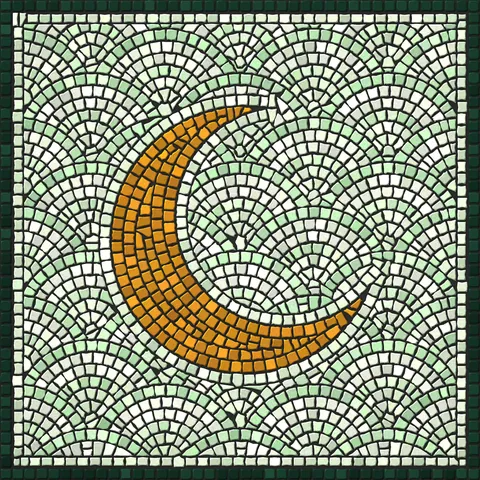
The background takes up 60–70% of most mosaics, and it can be laid in different ways. The pattern sets the character of the work more than you might expect: a straight grid looks modern and calm, brick rows look classical, circles and fans look festive and Mediterranean. Below are the six main mosaic background patterns. The lemon, the tile and the colors are the same in every picture; only the direction of the rows changes.
| Pattern | Character | When to use it | Difficulty |
|---|---|---|---|
| Grid | calm, digital | pixel designs, pools, glass tile backgrounds | easy |
| Brick | classical | behind a simple figure, borders, Roman floors | easy |
| Diagonal | dynamic | modern interiors, abstract work | medium: lots of cutting at the edge |
| Circles | focused, formal | a medallion, a rosette, a word in the center | medium: pieces are cut into trapezoids |
| Fan | decorative, “seaside” | panels, floors, doormats | hard: every half-circle is marked and cut |
| Flow | artistic | animals, portraits, plants | medium: the rows are led by eye |
Composition rule
One background pattern per mosaic. A fan behind a busy word fights the letters; circles around a figure support it.
How to choose:
- For a first mosaic — brick rows or flow. The pieces need almost no shaped cutting, and small mistakes are forgiven.
- Circles and fans — once you can cut tesserae into neat trapezoids, because every ring narrows toward its center.
- One pattern, one rhythm. Do not mix two patterns in one field without a border between them.
What is andamento in mosaic
Andamento (Italian for “flow” or “course”) is the direction in which the rows of tesserae run. Rows in a mosaic behave like brushstrokes: they repeat the shape, add volume and set the movement. Good andamento goes unnoticed — the figure simply looks rounded and the background breathes. Bad andamento shows at once: the rows argue with the shape, and wedges and gaps appear along the outline.
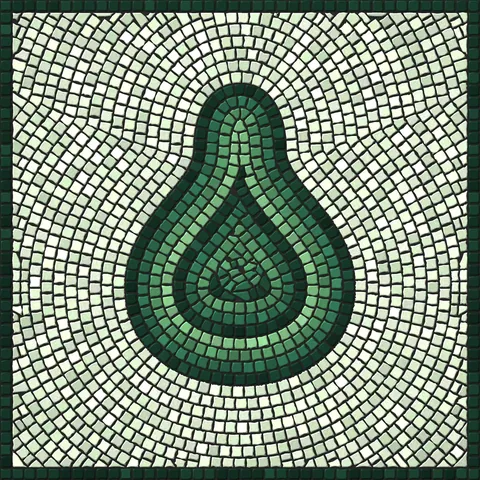
Look at the pear below. Its rows are colored alternately, so you can see that they are not random: each one repeats the outline and narrows toward the middle, where the last cut pieces go.
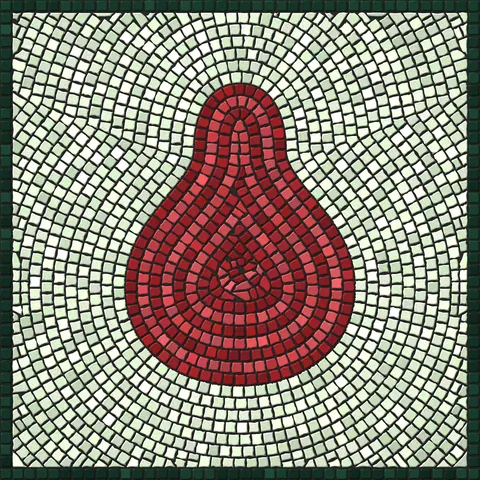
The second rule is the outline row: one row of background color laid around the figure before the background. Without it, a patterned background runs straight into the figure and gets chopped off; with it, the pattern ends neatly against the row, and the outline stays clean.
Andamento also gives volume without any painted shading. The same pear in four close shades of green, darkest at the edge, looks rounded although each row is a single flat color.
How to lay a mosaic step by step
Masters almost always work in the same order, from the main to the secondary. First what sets the limits (the border and the outline), then what the work is about (the figure), and only then the background. Start with the background, and there will be no room left for the figure, while the rows at its edge turn into splinters.
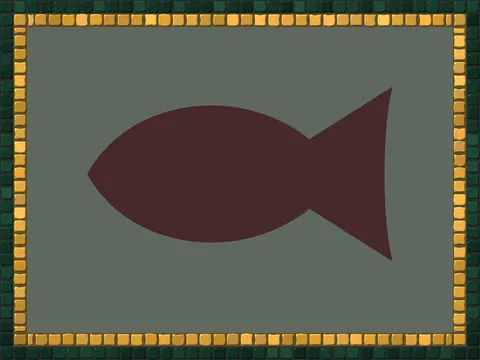
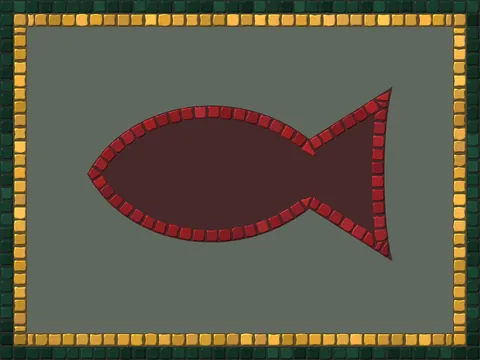
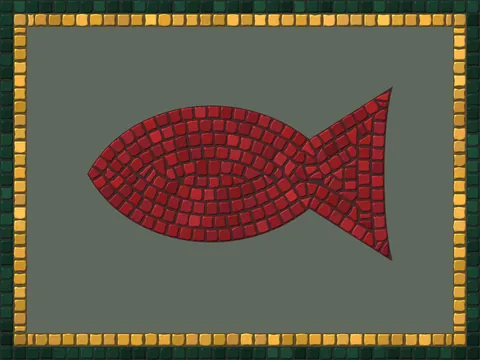
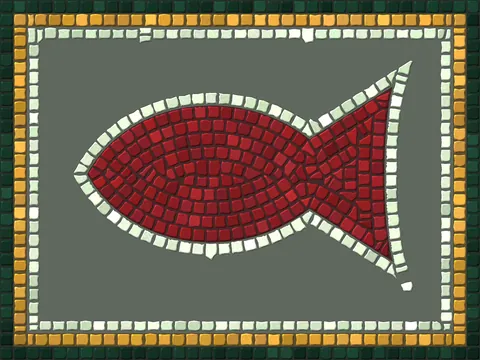
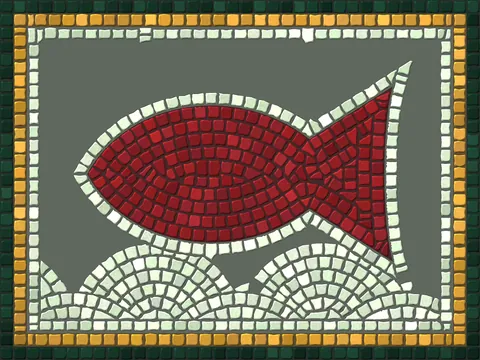
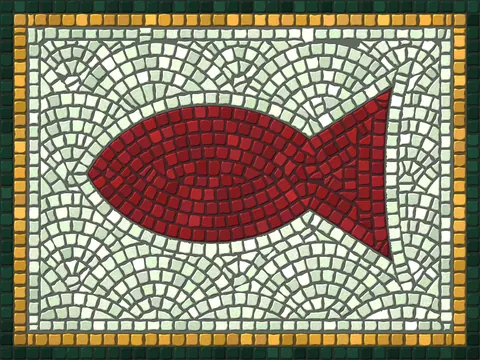
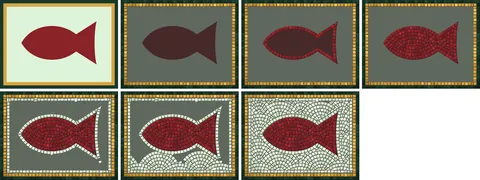
Here is a fish laid in this order. Each step is a separate picture; the dark field is what is not laid yet. Our students follow exactly this sequence in their first assignment of The Basics of Mosaic: border, outline, filling, a staggered background and the outline row.
- Layout. Draw the design at full size and mark the sizes and colors.
- Border. Rows along the edge give a straight, clean frame.
- Outline. The first row follows the edge of the figure exactly.
- Figure. Rows run from the outline toward the middle; the cutting happens in the center.
- Outline row. One row of background color around the figure and along the border.
- Background. Rows fill the field from the figure out to the border.
- Finish. The last cut pieces go in at the border, then the mosaic is grouted.

| Number | What it means |
|---|---|
| 12–15 | pieces of height: the minimum for a figure, or the silhouette will not read |
| 2–3 | pieces: the smallest detail — an eye, a petal, the stem of a letter |
| 2–3 | pieces: the space between the figure and the border, so the background can go around it |
| 1 | outline row around the figure, almost always when the background has a pattern |
Mosaic figures and borders
Which figures work in mosaic
Mosaic loves a clear silhouette. The rows follow the outline, so the best figures are the ones you can recognize by their shape alone: a key, a palm, a bird, a wave, a letter. Thin lines, fine hatching and soft shading are hard in mosaic; they have to be made bolder or turned into flat areas of color.
Every figure below has a clean edge, no detail smaller than two pieces, and an outline row between it and the background. A letter is a figure too: its stroke must be at least two pieces wide, so mosaic lettering uses bold typefaces, and fine serif type only at a large size.
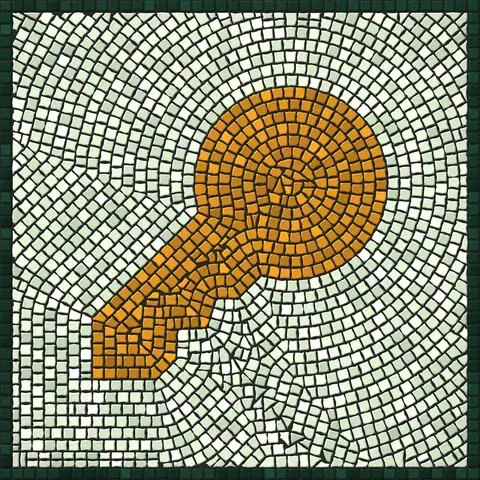
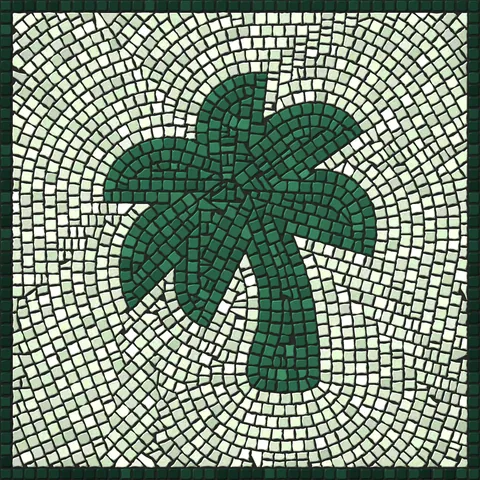
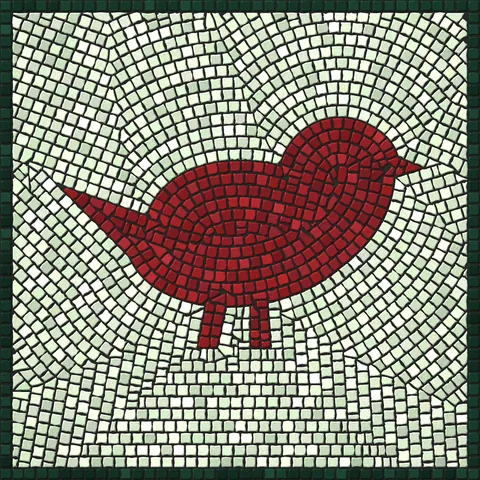
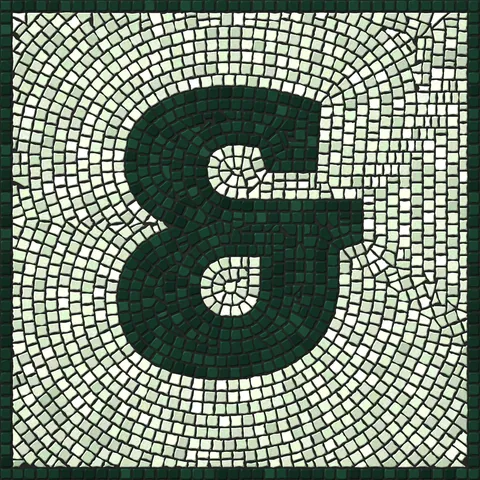
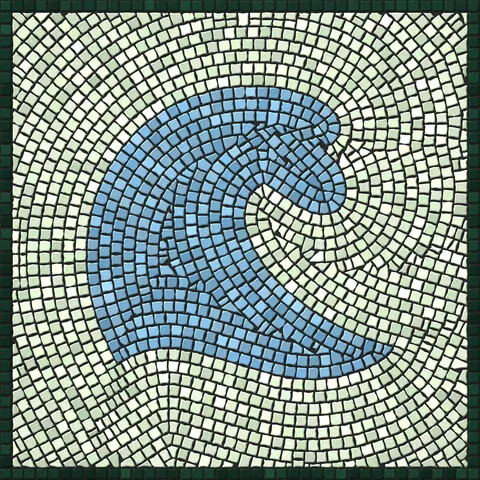
- Simple silhouettes — key, heart, star, anchor, house: ideal for a first piece.
- Animals and birds — bird, fish, cat: you need a recognizable profile; show details inside with color, not with lines.
- Letters and numbers — signs, doormats, house numbers: a bold typeface, letters at least 10 pieces high.
- Rosettes and medallions — a figure in the center and circles around it: a classic of floors.
Silhouette test
Shrink your sketch to the size of a postage stamp. If you can still tell what it is, it will read in mosaic too.
A short checklist for any figure:
- height — 12–15 pieces or more;
- detail — two or three pieces at least;
- contrast — the figure clearly lighter or darker than the background, not only a different hue;
- color — background about 60%, figure about 30%, accent about 10%;
- space — two or three pieces between the figure and the border.
How to draw such a cartoon yourself, with ready templates, is in How to draw a simple mosaic cartoon.
Mosaic border patterns: one band, two bands or a checkerboard
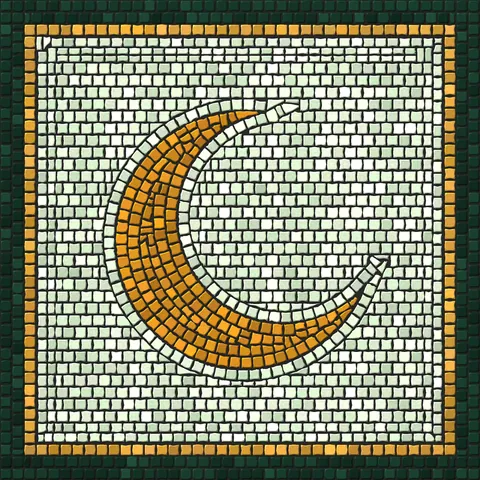
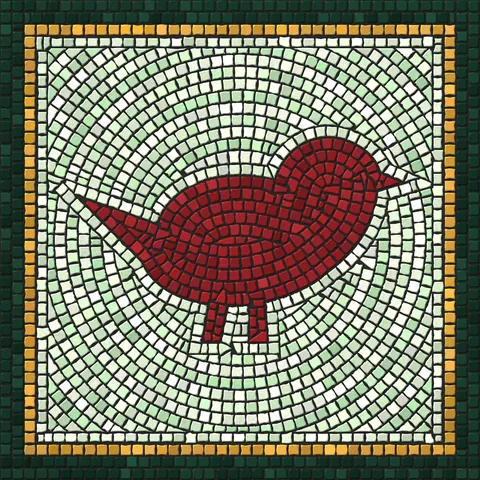
A border works like a mat around a picture: it separates the mosaic from the wall and gives the eye a straight edge. It is laid first and sets the size of the whole field. Make it 3–6% of the shorter side, usually one to four rows of tiles. Wider than that, and the border starts competing with the design.
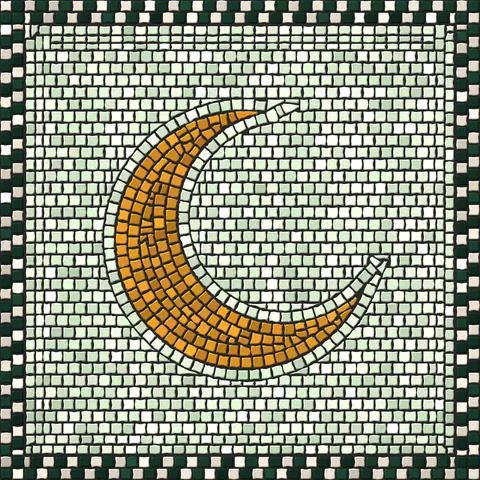
One or two dark rows look modern and strict. Two bands, dark outside and an accent color inside, are the classic frame of Roman panels. A checkered border, where the pieces alternate and neighboring rows are offset by one, comes from ancient and Mediterranean floors, and from there it moved onto doormats.
Types of mosaic by technique: andamento, grid, trencadís, stained glass and inlay
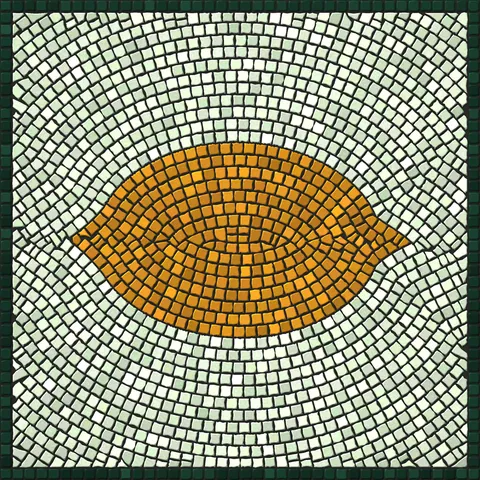
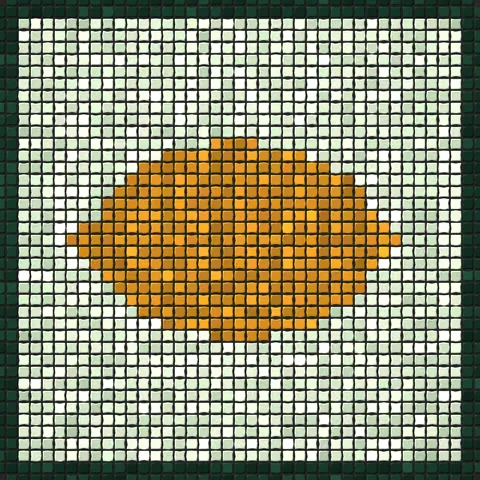
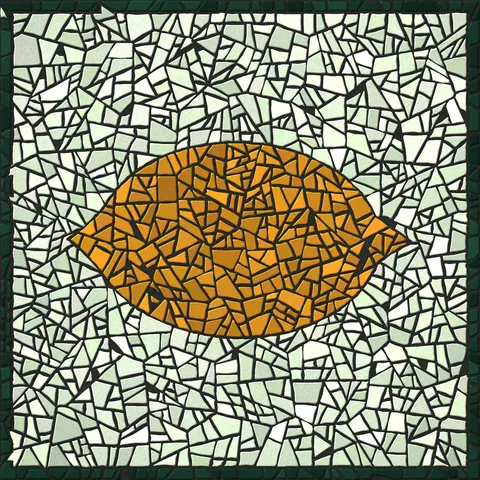
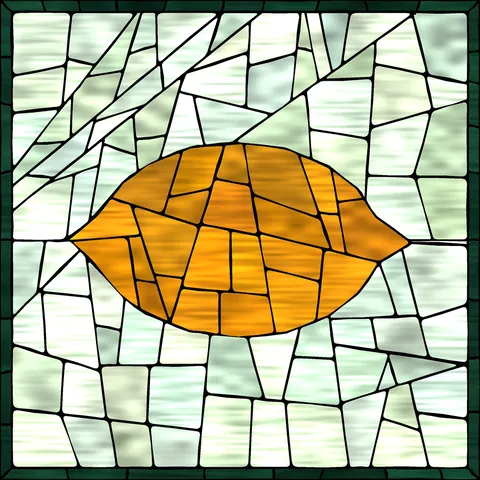
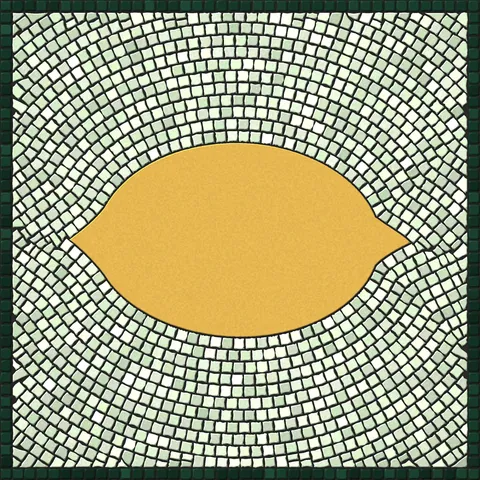
When people ask what types of mosaic there are, they usually mean one of two things: the material (smalti, stone, glass, ceramics) or the way the pieces are set. The material changes the color and texture; the way of setting changes the drawing itself. To make the difference visible, we laid the same lemon in five ways.
- Grid (matrix) mosaic — tiles stand in a grid, and the figure is built from “pixels”.
- Andamento — rows follow the form: artistic mosaic in the classic sense.
- Trencadís — mosaic from broken tile, made famous by Antoni Gaudí. There is a step-by-step project in Broken china mosaic.
- Stained glass mosaic — the design is cut from sheet glass in large pieces, wrapped in copper foil and soldered, as in Tiffany lamps. We teach it in Stained Glass Basics: a Tiffany Pendant.
- Inlay — one solid piece of metal, wood or stone set into a mosaic field: a mixed technique.
| Type | Material | How it is cut | Where you see it |
|---|---|---|---|
| Grid | glass tile, smalti | almost no cutting | pools, pixel art, facades |
| Andamento | smalti, stone, glass | wheeled nippers, hammer and hardie | panels, floors, icons |
| Trencadís | broken ceramic or glass | hammer, nippers | gardens, benches, facades — Barcelona |
| Stained glass | sheet glass | glass cutter, breaking pliers | lamps, windows, doors |
| Inlay | metal, wood, stone | laser, waterjet, saw | modern interiors, signs |
What to choose:
- To start — andamento in smalti or glass tile: every rule on this page shows in it.
- Stained glass is a craft of its own with its own tools; see Tiffany stained glass.
- Direct and indirect methods are not types of mosaic but ways of assembling one; the difference is explained in Mosaic methods.
Mosaic styles: Roman, Byzantine, Art Nouveau, Soviet, Gaudí, Tiffany, contemporary and Mediterranean
A style is not a separate technique but a combination of the same rules: which material, which tile, which palette, which background pattern and which subject. Swap stone for gold smalti and brick rows for circles, and a Roman floor turns into a Byzantine medallion. Below are eight styles people search for and commission most often, each with its short “formula”. The history behind them is in History of mosaic.
Rule of our workshop
A style is material plus rhythm. First decide what to make it from, then which pattern.
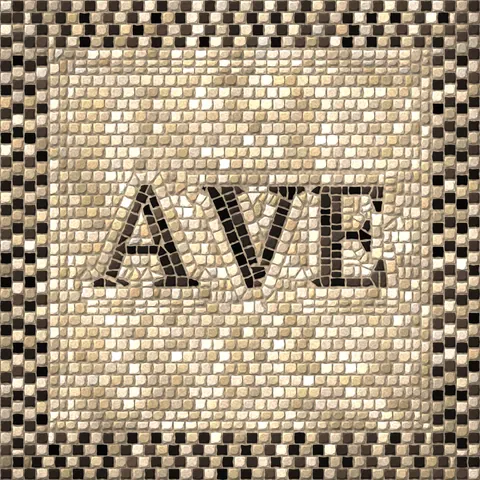
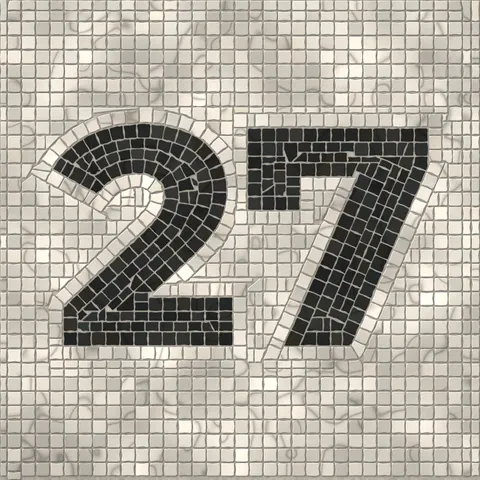
- Roman. Natural stone in warm and black tones, brick rows, a checkered border. Romans set greetings such as ave (“hail”) at the entrance of a house. In depth: our course Roman Mosaic and Roman mosaic symbols.
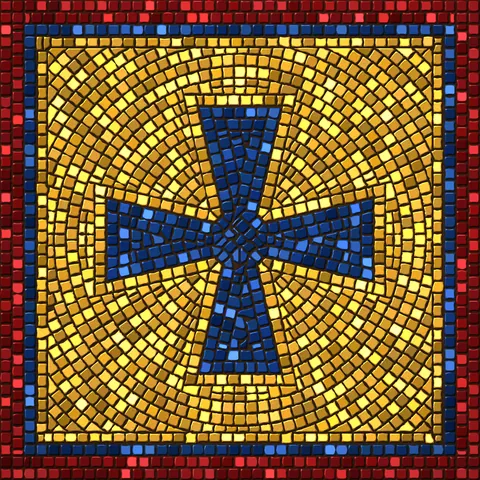
- Byzantine. Gold smalti set at slightly different angles catches the light, as in Ravenna and Istanbul. Deep red and blue go into the border. The material is the subject of our course Smalti Mosaic.
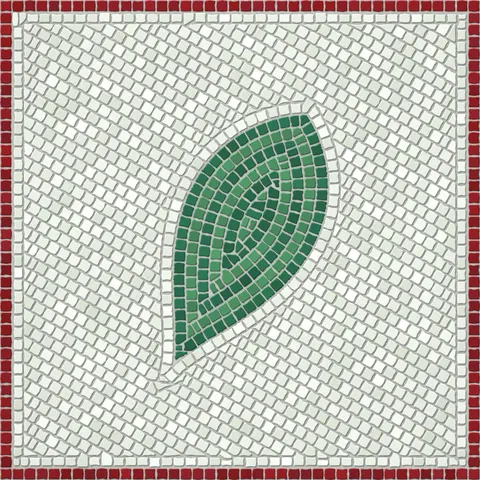
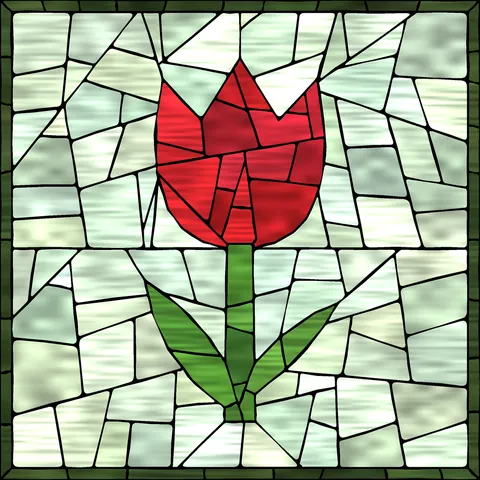
- Art Nouveau. Glass tile, a plant motif, flat clean colors and a background in diagonal stripes: the style of early 20th-century stations, cafés and entrance halls.
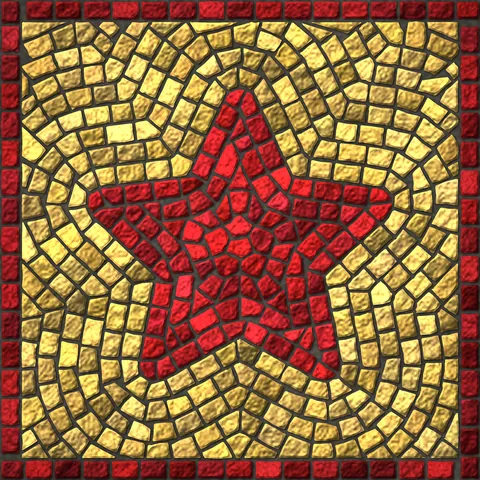
- Soviet. Large rough-split smalti set in relief, local colors and bold graphics. This is the look of facades from the 1960s–1980s and of metro stations; see Soviet mosaics.
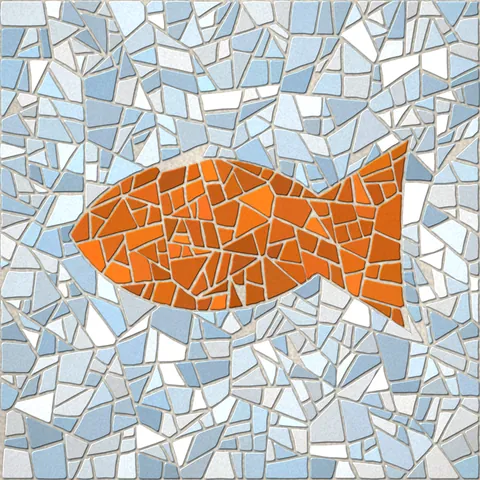
- Gaudí. Trencadís: shards of glazed ceramics, bright colors and a wandering joint. Park Güell in Barcelona is the best-known example.
- Tiffany. Sheet glass with streaks of color in the mass, large pieces and a dark tin seam over copper foil. Lamps, windows, panels.
- Contemporary. Polished stone, a plain grid, one graphic figure or number. Few colors, maximum clarity.
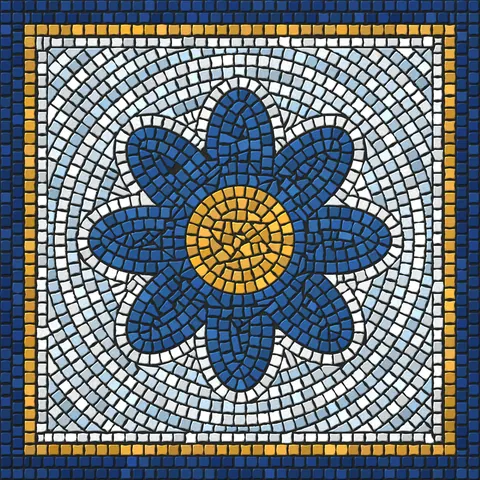
- Mediterranean. A rosette or star in the center, circles in four close tones and a double border: an inlay for a tiled floor.
| Style | Material | Palette | Pattern and devices |
|---|---|---|---|
| Roman | split stone, marble | ochre, white, black, terracotta | brick rows, checkered border, inscriptions |
| Byzantine | smalti, gold smalti | gold, deep blue and red | circles, gold ground, pieces set at an angle |
| Art Nouveau | glass tile, ceramics | muted clean colors | plant motifs, diagonal rows, smooth outlines |
| Soviet | large split smalti | red, blue, ochre, white | relief, stars, poster graphics |
| Gaudí | broken ceramics | bright, saturated | trencadís, free joint |
| Tiffany | sheet glass | pastel and translucent | large pieces, soldered seam |
| Contemporary | stone, glass, metal | two or three colors | grid, diagonal, inlay |
| Mediterranean | glass tile, smalti | blues and white, gold accent | rosette, circles, double border |
How to mix styles:
- Take the whole formula. Gold on a deep blue ground reads as Byzantium; gold on brick rows of beige stone reads as a mistake.
- The typeface is part of the style. A classical serif for Roman, a bold sans for Soviet and contemporary, a script for a café or a home.
Mosaic design ideas: doormats and signs
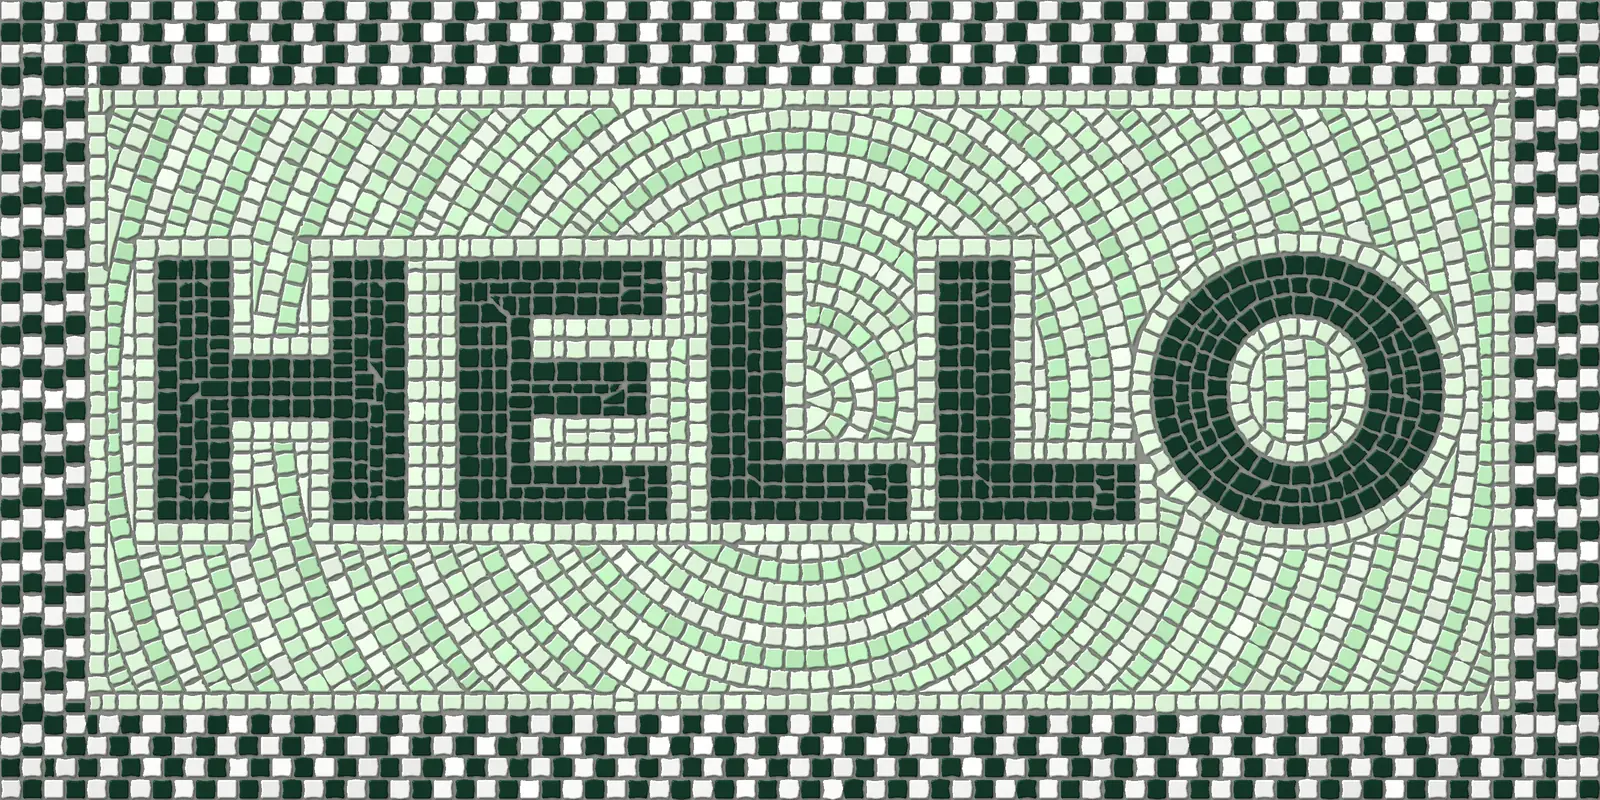
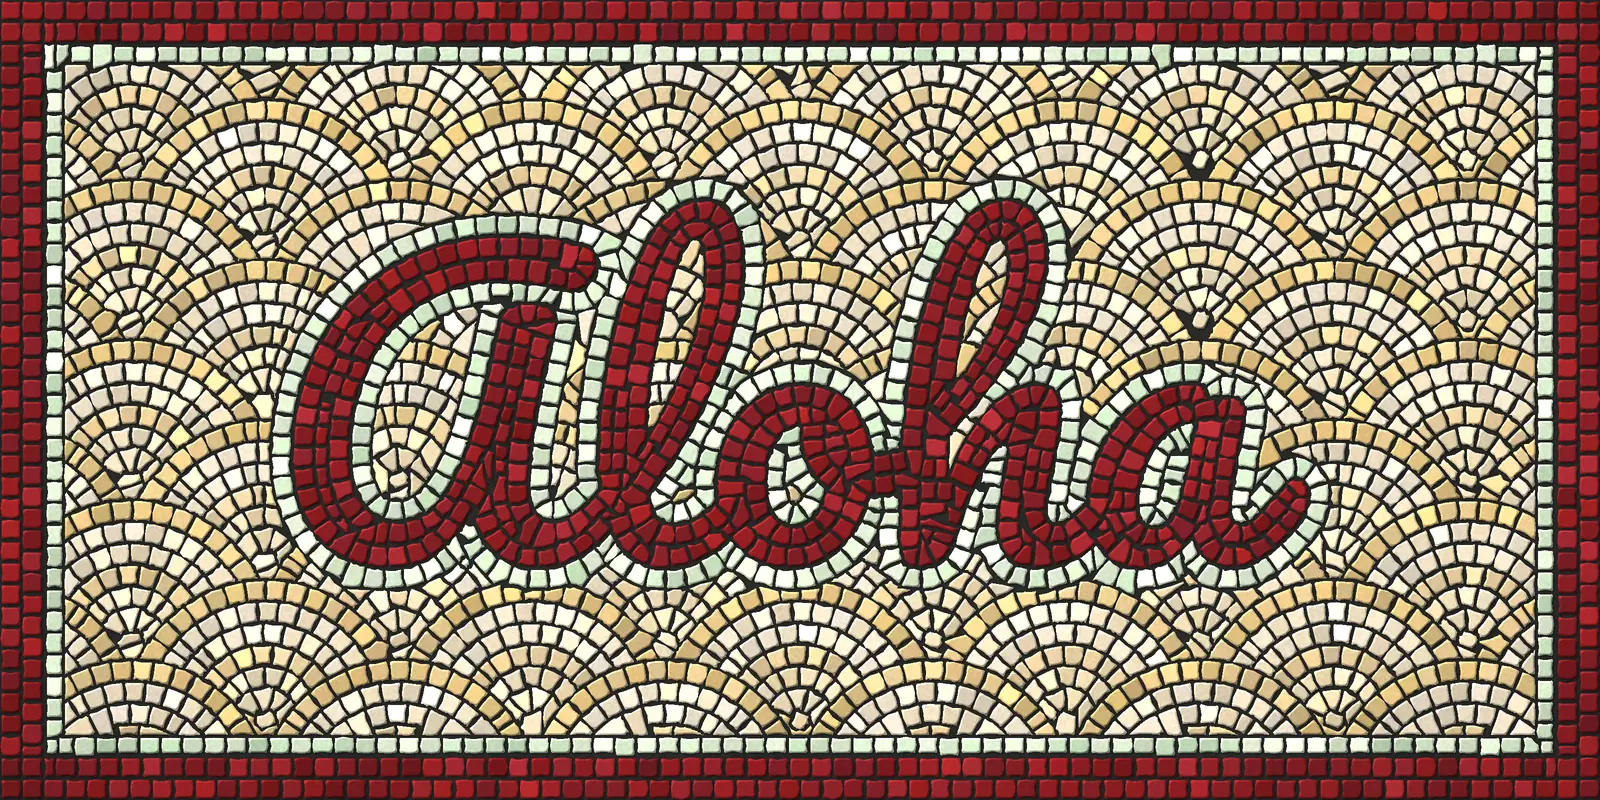
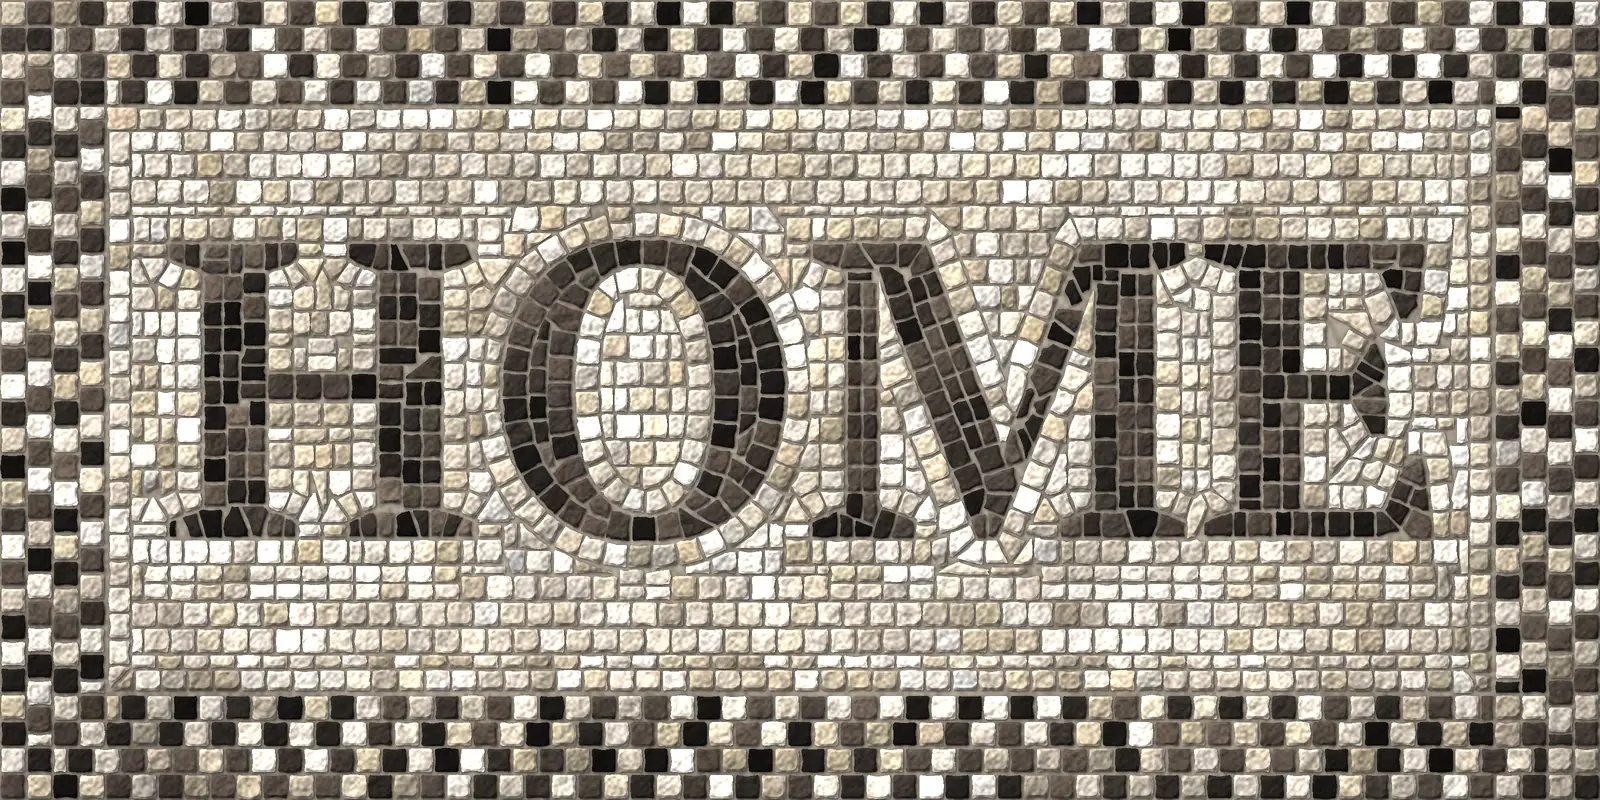
The most popular mosaic commission is a doormat with a greeting at the entrance. It brings together every rule on this page. The word is a figure with an outline row. The background is circles or a fan, so the eye goes to the word. A checkered border holds the edge. There are three or four colors, and the word differs strongly in lightness from the background, so it reads from the doorstep.
Here are three such designs in different materials: glass tile, smalti and stone. Use them as a starting point and adjust to your size: the length of the word is 5–8 times its height, letters are at least 10 pieces high, and there are two or three pieces of background between the word and the border.
School tip
For a floor, use frost-resistant glass tile or stone and gray grout: it does not show dirt at the doorstep.
How to design your own mosaic
A mosaic sketch is not just a picture but a plan: where the rows go, what size the tiles are, how many colors there are. Start with a silhouette and one background pattern, check the contrast of figure and background in black and white, then add a border. If you would rather not draw, andamento.app turns a photo or a description into a mosaic sketch and shows it in tiles, with the materials counted by color. And you can try laying a mosaic by hand, without buying anything, in Andamento Play.
How to draw a cartoon yourself, scale it to full size and transfer it to the base is covered in How to draw a simple mosaic cartoon; how to draw specifically for mosaic is the subject of our course How to Draw a Mosaic Cartoon. Ready-made cartoons and reference material are collected in the Mosaic Artist Archive.
Our AI design appNeed a sketch to start from?
andamento.app turns a photo or an idea into a mosaic design and a full-size cartoon — free to try.
Try andamento.appAll our courses are also sold in bundles at a lower price than one by one.
Questions, answered
How is a mosaic made?
A mosaic is built from small pieces called tesserae, set into adhesive with a narrow joint between them and grouted at the end. Masters work in one order — border, outline of the figure, the figure from its edge to the middle, one outline row of background color, then the background — so that the cut pieces end up where they show least.
What are the main mosaic background patterns?
Six patterns cover almost every mosaic: a straight grid, brick rows offset by half a piece, the same rows on a diagonal, concentric circles, overlapping fans (the fish-scale pattern) and rows that flow out from the outline of the figure. Use one pattern per piece, chosen for the character you want.
What is andamento in mosaic?
Andamento, Italian for “flow”, is the direction in which the rows of tesserae run. Rows that follow the outline of a figure make it look rounded and alive; rows that fight the shape leave wedges and gaps at the edge. Good andamento is what separates a mosaic from a picture cut into squares.
Where do I start when laying a mosaic?
Start with the frame and the outline of the main figure, then fill the figure from its edge toward the middle. Lay one outline row of background color around the figure and only then the background. If you start with the background, there is no room left for a clean figure.
Which background pattern is best for a first mosaic?
Brick rows or rows that flow from the figure. Both need almost no shaped cutting and forgive small mistakes. Leave circles and fans for later, when you can cut tesserae into neat trapezoids, because every ring narrows toward its center.
What are the types of mosaic?
By technique there are five: grid (matrix) mosaic, andamento, trencadís from broken tile, stained glass mosaic in the Tiffany method, and inlay, where a solid cut piece of metal, wood or stone is set into a mosaic field. By material, mosaics are made of smalti, stone, glass tile and ceramics.
How do I design my own mosaic?
Start from a clear silhouette and one background pattern, check the contrast of figure and background in black and white, and add a border. Keep every detail at least two or three pieces wide. If you would rather not draw, an app such as andamento.app turns a photo or a description into a mosaic sketch with a materials estimate.
Where can I learn to make mosaics?
Our online course The Basics of Mosaic covers everything on this page with your own hands — three materials, three ways of setting, the order of work, mounting and grouting — with close-up video lessons you watch at your own pace.
This page is an English adaptation of our Russian original.