Daria Ovsyanyuk
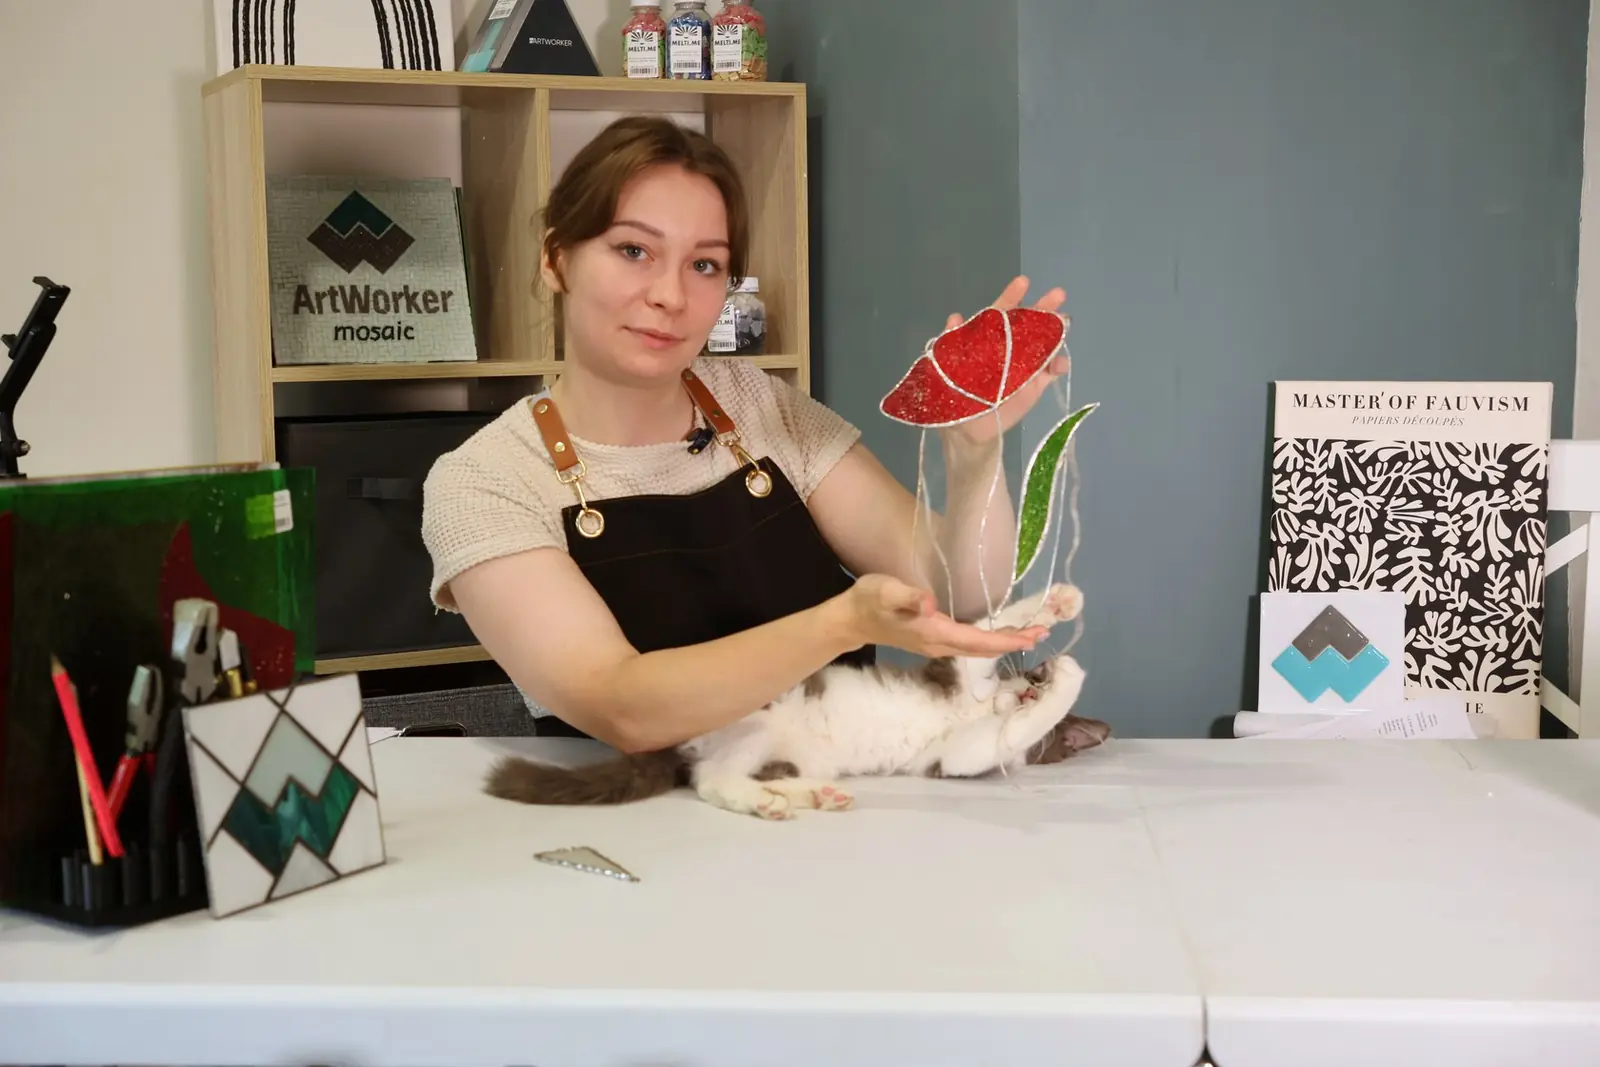
Daria studied at the Department of Art Glass of Stroganov University in Moscow, where she learned the Tiffany technique. She works with glass, teaches, and takes part in ArtWorker's projects.
Tiffany stained glass from scratch: in nine lessons you go through the whole cycle, from the design to cutting, grinding, copper foil and soldering, and make a poppy suncatcher to hang in your window.
12 months from purchase · watch on any device · secure card payment


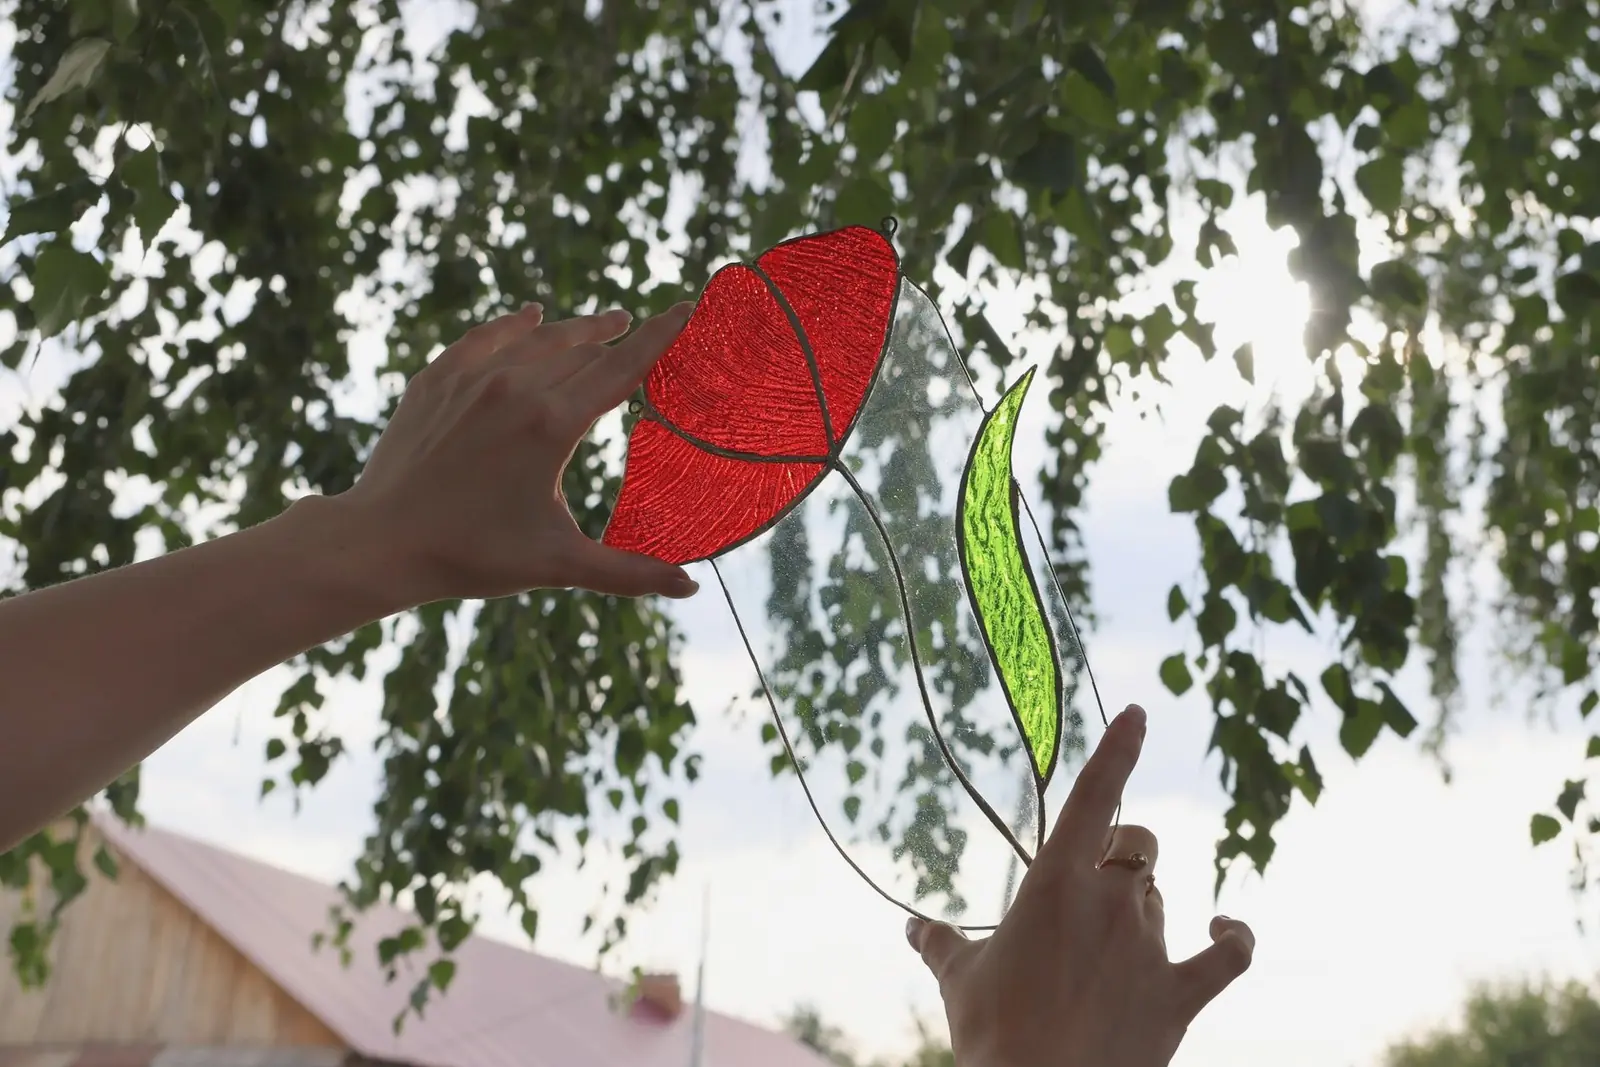
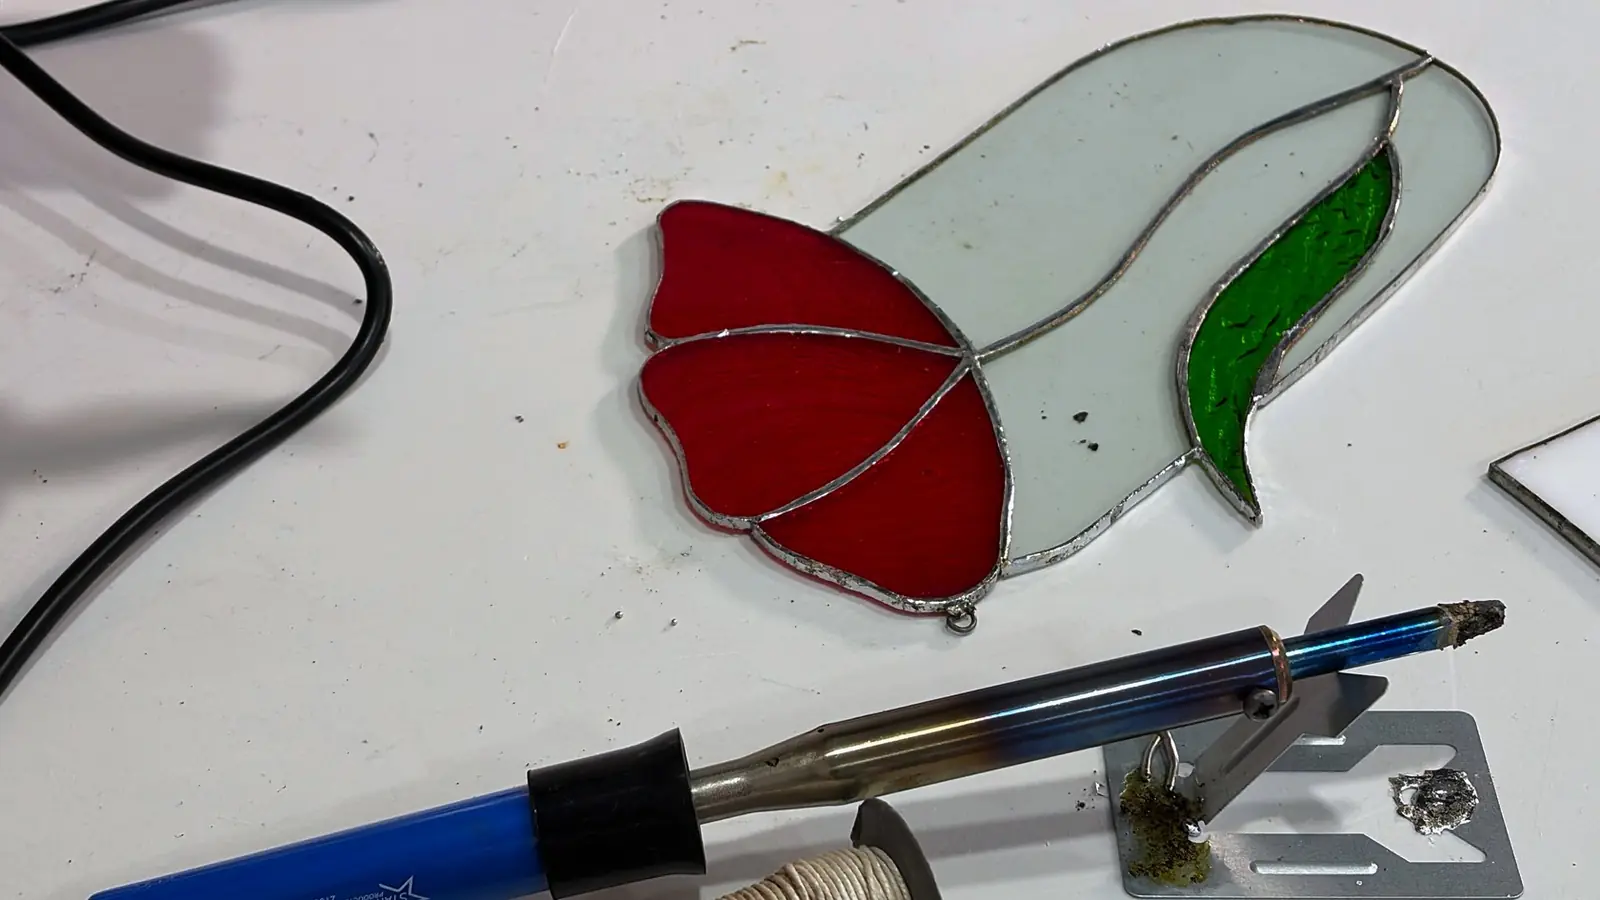
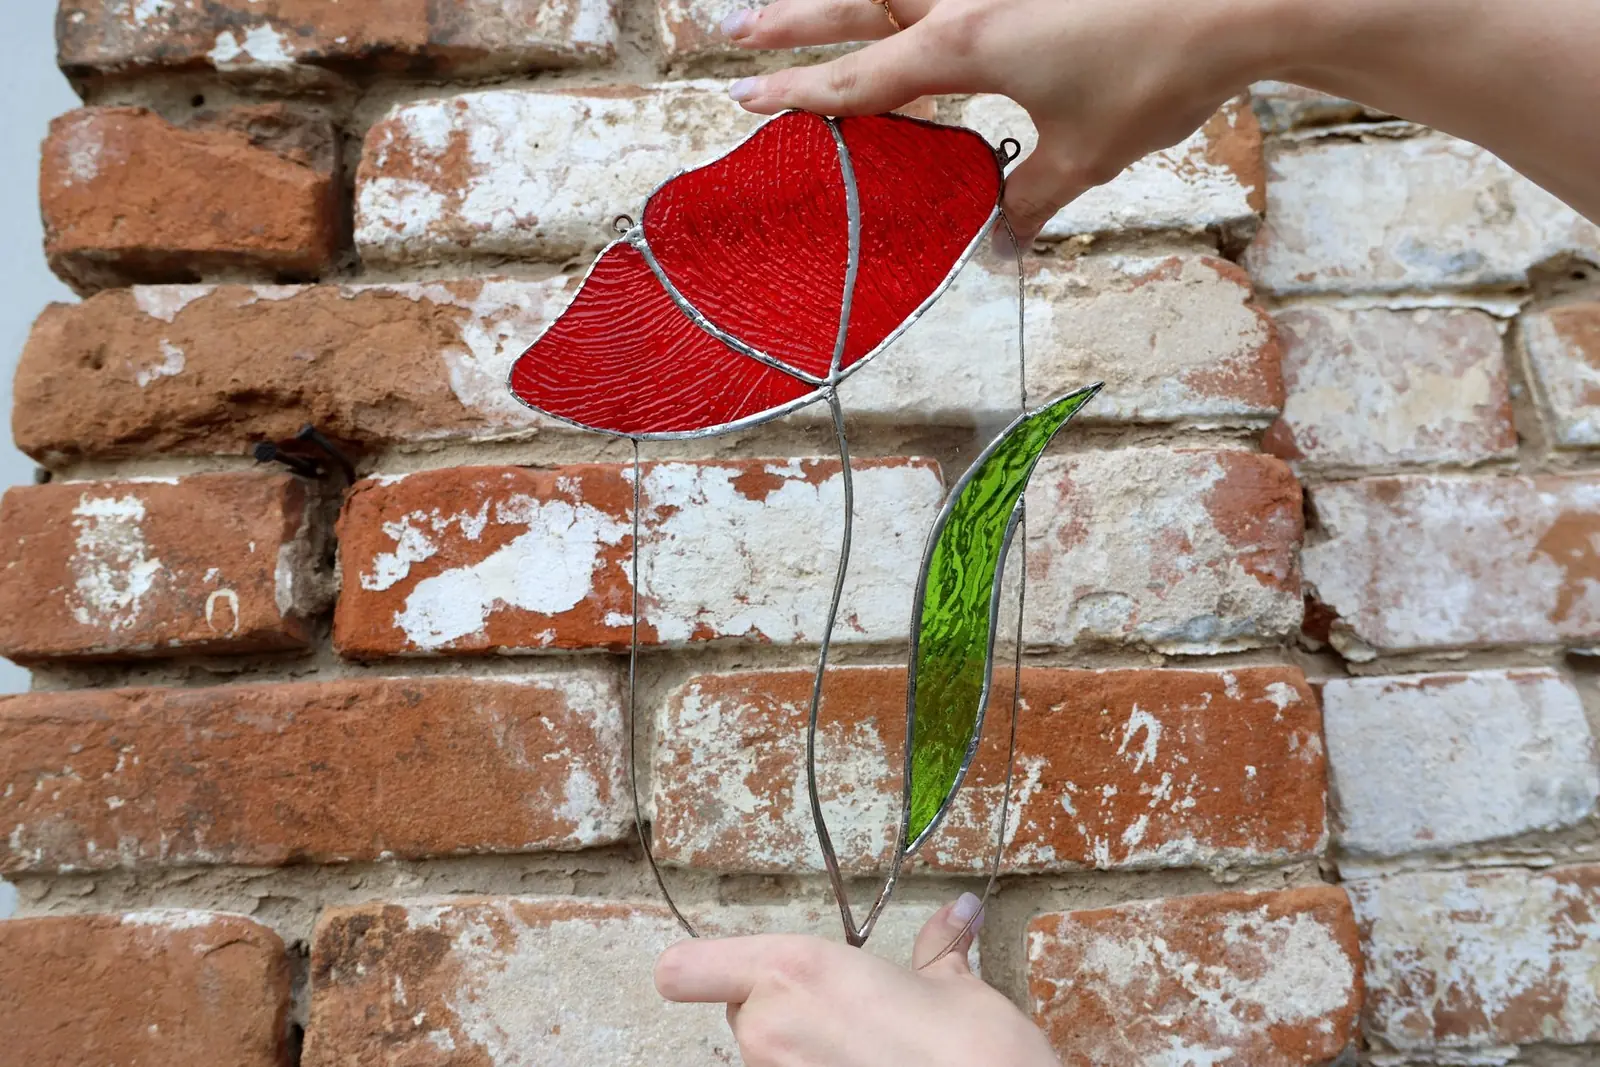
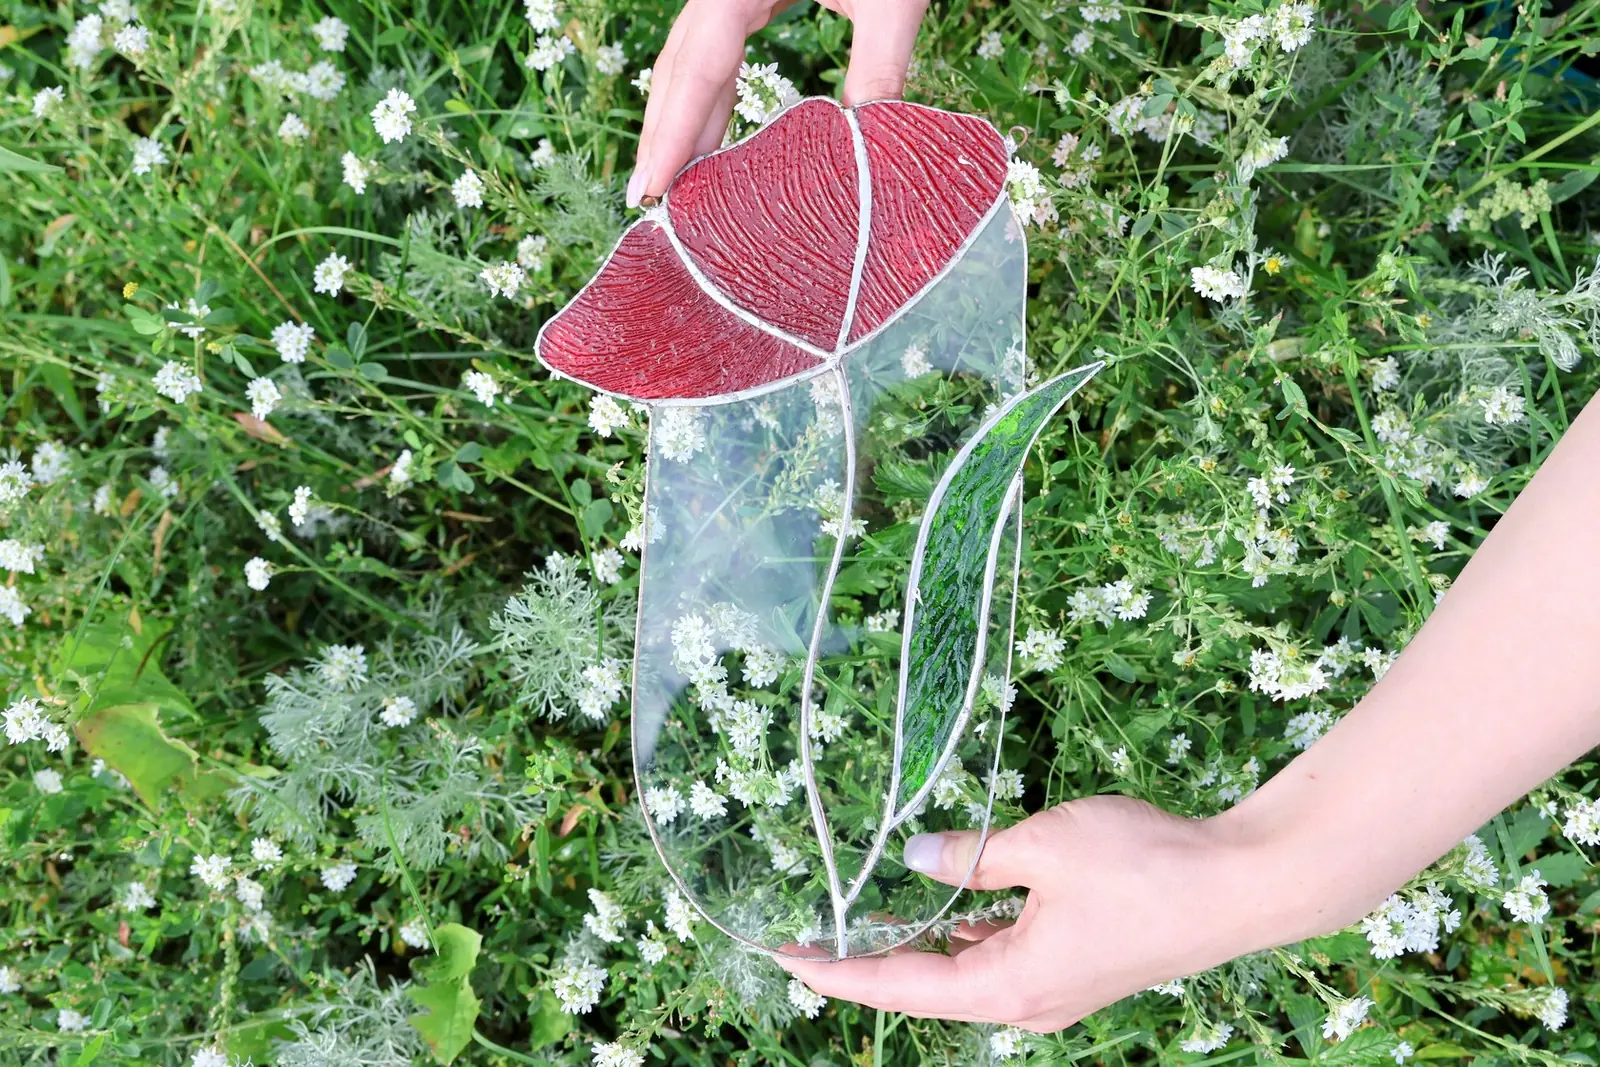
A hanging piece in red and green textured glass on a clear background. Hang it in a window or on a door and watch it change with the light through the day, or give it as a present.
We start from zero: how to hold a glass cutter, how a good score sounds, what to buy first. You don't need experience, just the wish to try and a little patience.
By the end you have an object to hang in a window and watch as it changes in the sun through the day.
If you already work with smalti and stone, stained glass widens your range: the same attention to shape and color, but very different physics, because light passes right through.
Once you know the Tiffany technique, you can make more than suncatchers: earrings, rings, small panels and window inserts, the kind of things people buy.
In Tiffany stained glass, each piece of glass is wrapped in thin copper foil and the pieces are soldered together. Because the foil is so pliable, you can join pieces of almost any shape. The course takes you through the whole technique on one simple design, a poppy, so that you finish a complete piece instead of getting stuck on a difficult detail.
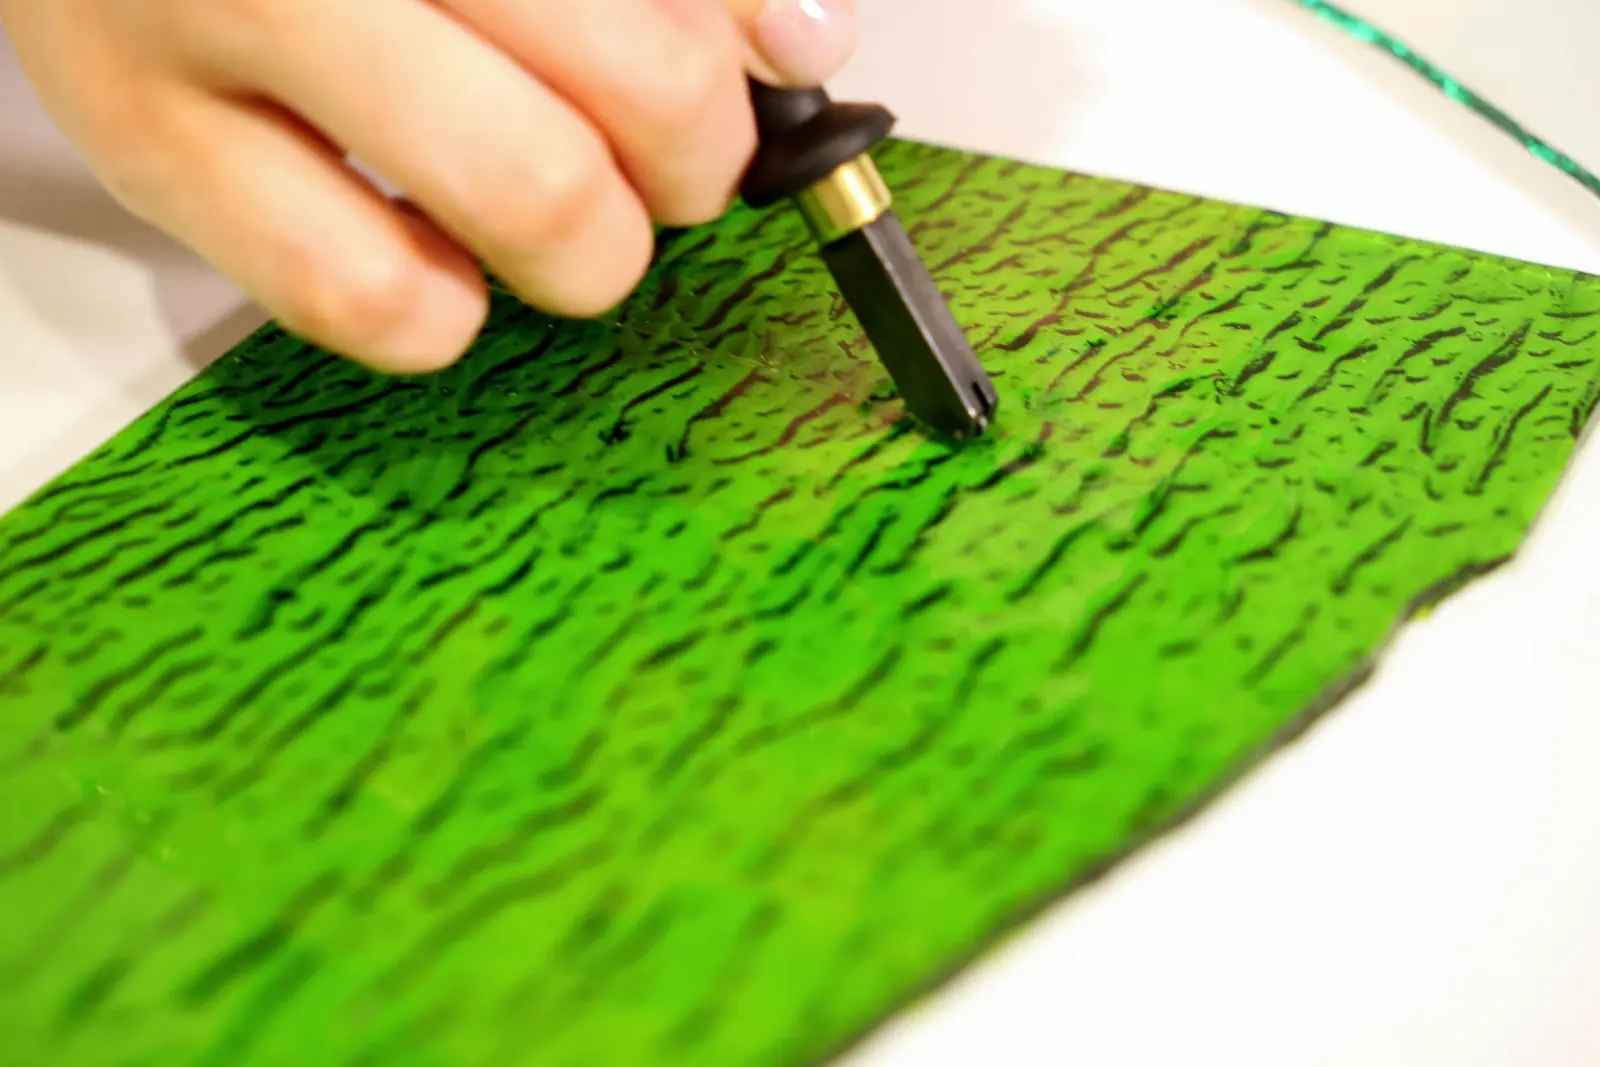
You work with textured, smooth and ordinary window glass, and learn to finish edges with solder.
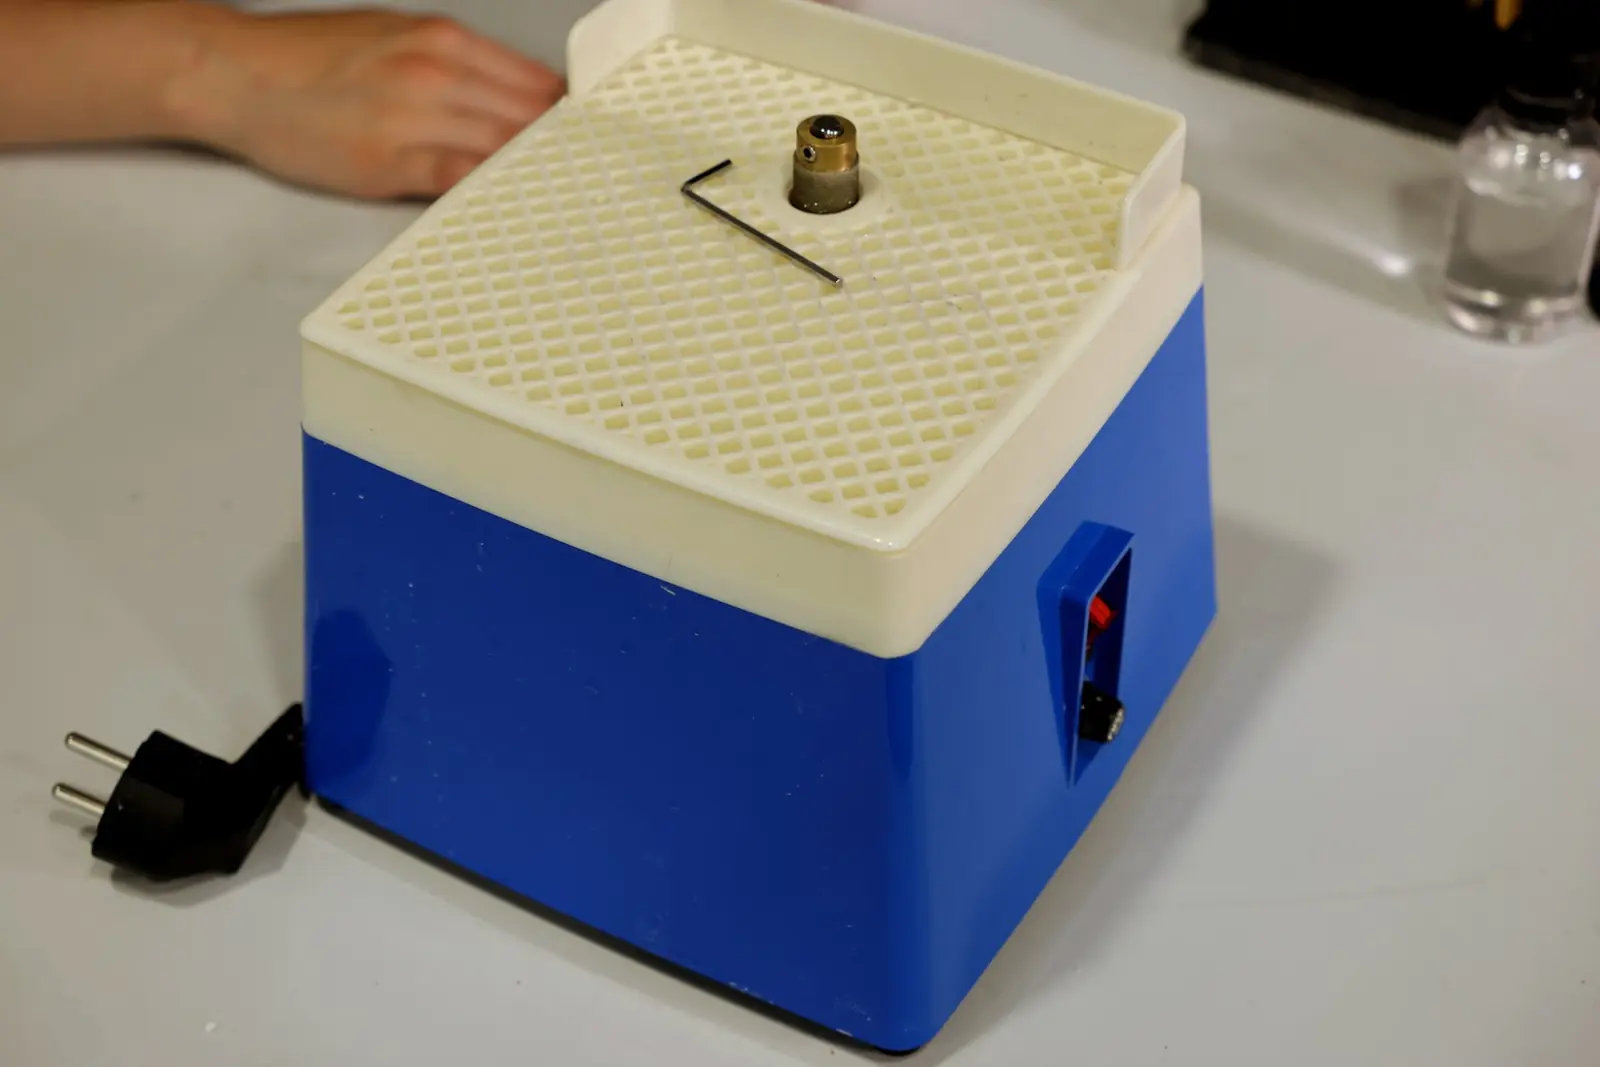
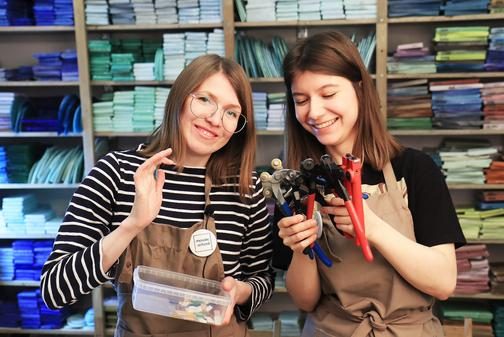
Lesson 2 is about what to buy and what to look for: which glass cutter suits a beginner, how stained glass pliers differ from ordinary pliers, what width of copper foil your glass needs, which solder and flux to use, and why a glass grinder matters. You won't pay for things you don't need.
Everything we show can be done on an ordinary work table, without a studio or special equipment. Even the background of our piece is ordinary window glass.
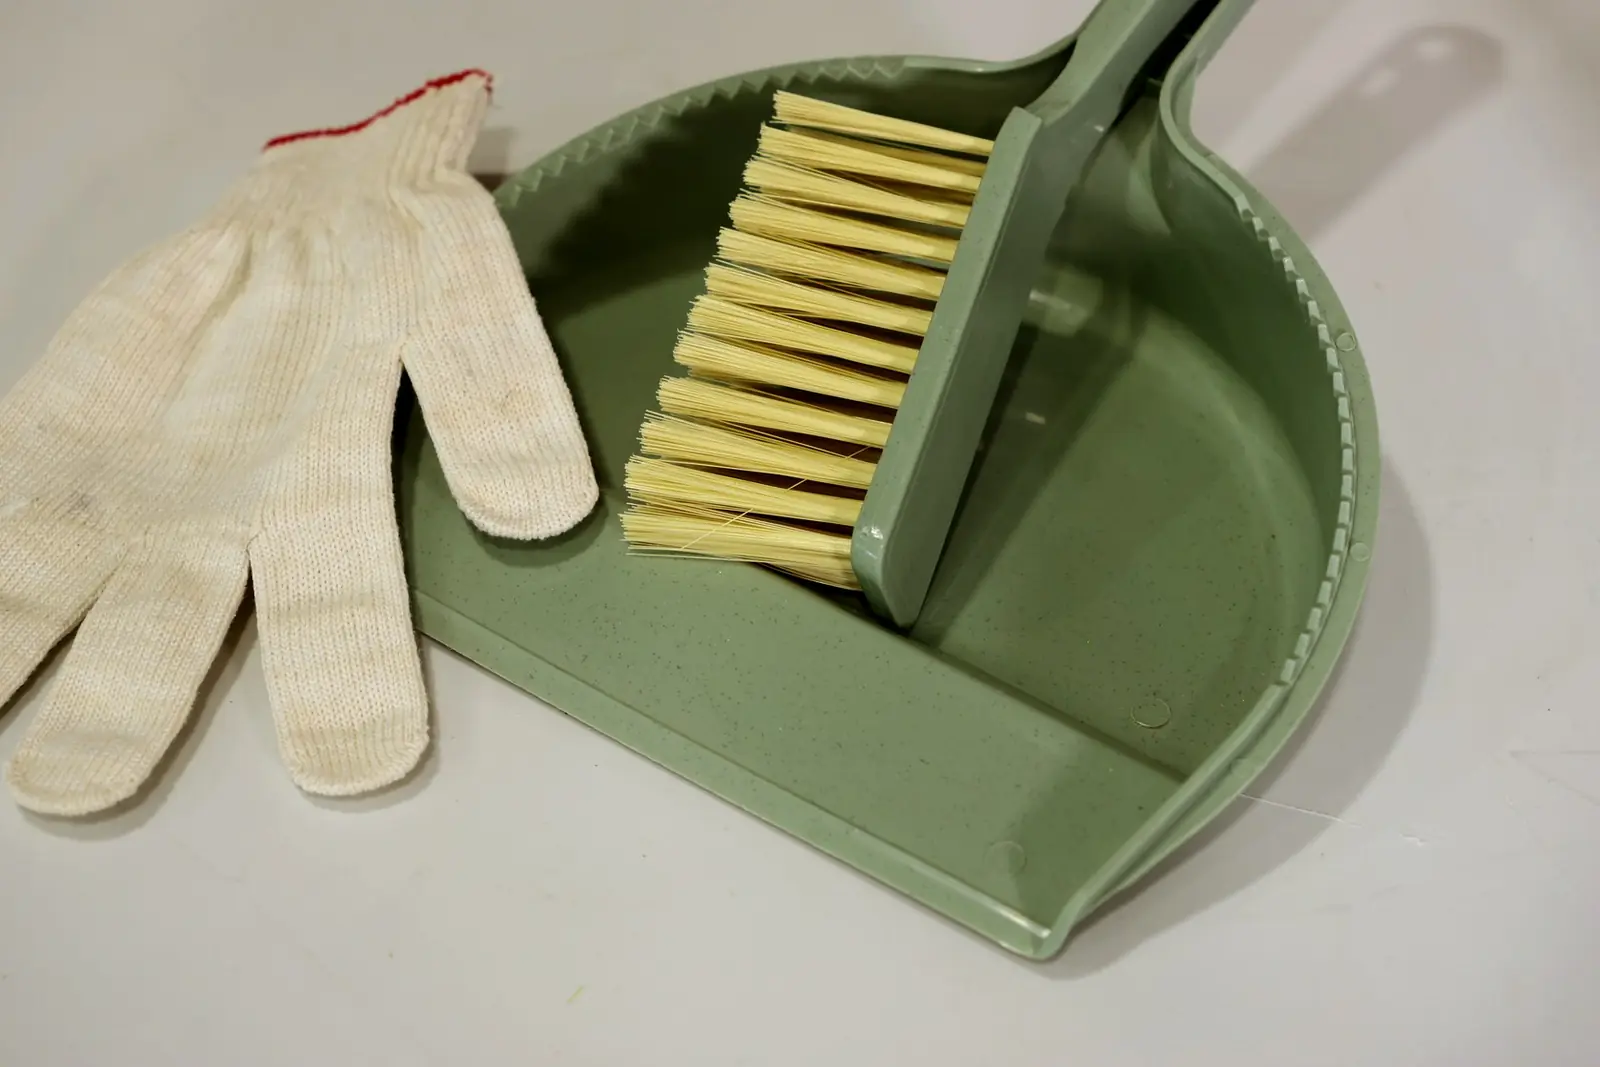
Stained glass is a safe craft, but it has requirements that it's only fair to tell you about up front.
The first lesson is entirely about safety: we go through each point in detail and explain why it matters.
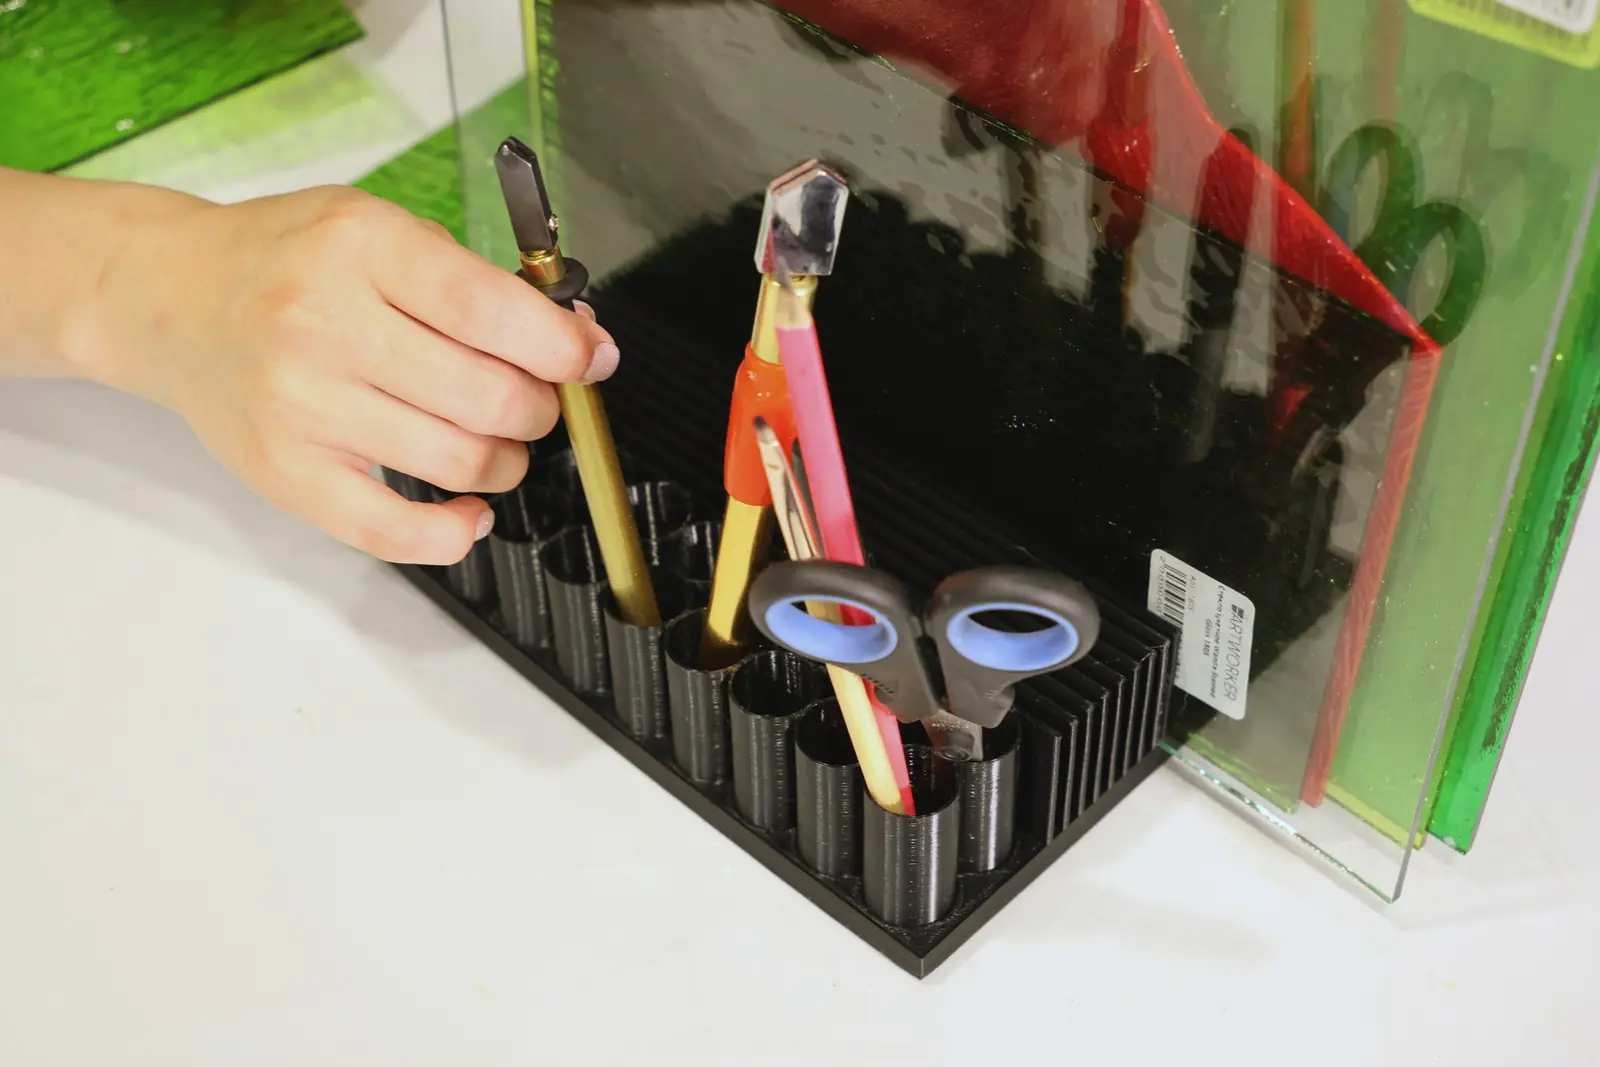
Materials aren't included in the course, and we don't send them: you buy them where you live and choose your own glass colors. Lesson 2 goes through every item, and the lesson page has the full list. Here is what you'll need:
Our guide to where to buy the materials explains what to look for in each item and where to find it in your country.
The main quality of stained glass is that it lets light through. A finished piece changes during the day and never looks quite the same twice.
We chose textured red glass for the petals to convey the living texture of the flower, and cut the pieces along the texture of the glass to bring it out. Next to a smooth, clear background, the texture reads especially clearly. In the last lesson Daria explains each of these decisions, and what to try next with your own designs.
Nine video lessons, 13 videos and about 2 hours in all. Every lesson has detailed written notes you can work from without the video. Take the lessons in order: each stage builds on the one before.
What Tiffany stained glass is and how it differs from other techniques, what you'll make, and how to work safely with glass, flux and a soldering iron.
Glass, cutters, pliers, a grinder, foil, a soldering iron, solder and flux: what to buy and what to look for. Then your first scores: how to run one, hear it and break the glass.
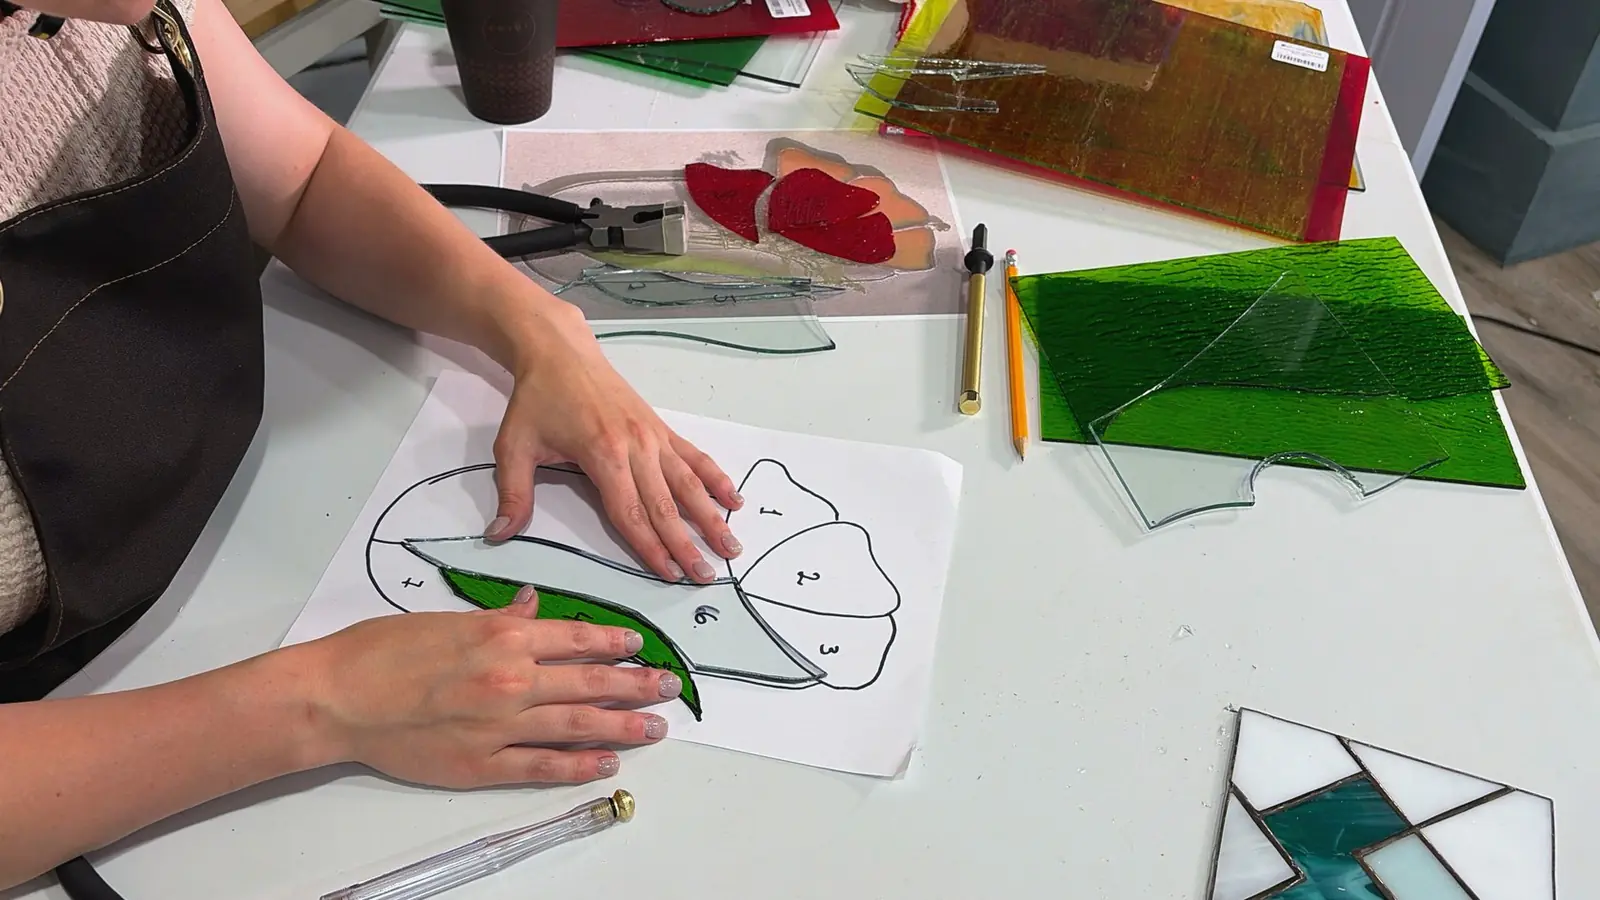
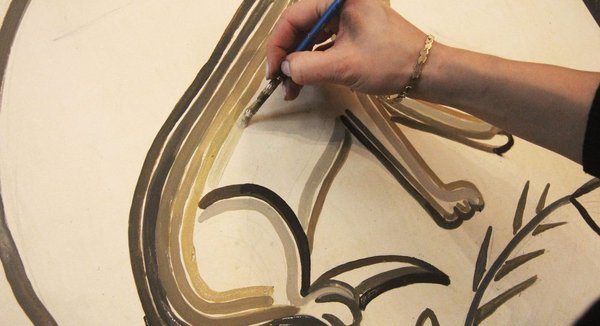
Turn a picture into a working pattern, number the pieces and cut the petals, background and leaf. The main rule of assembly, the gap for the foil, and how to cut difficult shapes.
Bring every piece to its exact shape on a glass grinder and fit the pieces together with a gap of about 1 mm (1/32 in).
Foil every piece and set the width of the future seam. The longest and calmest stage of the course.
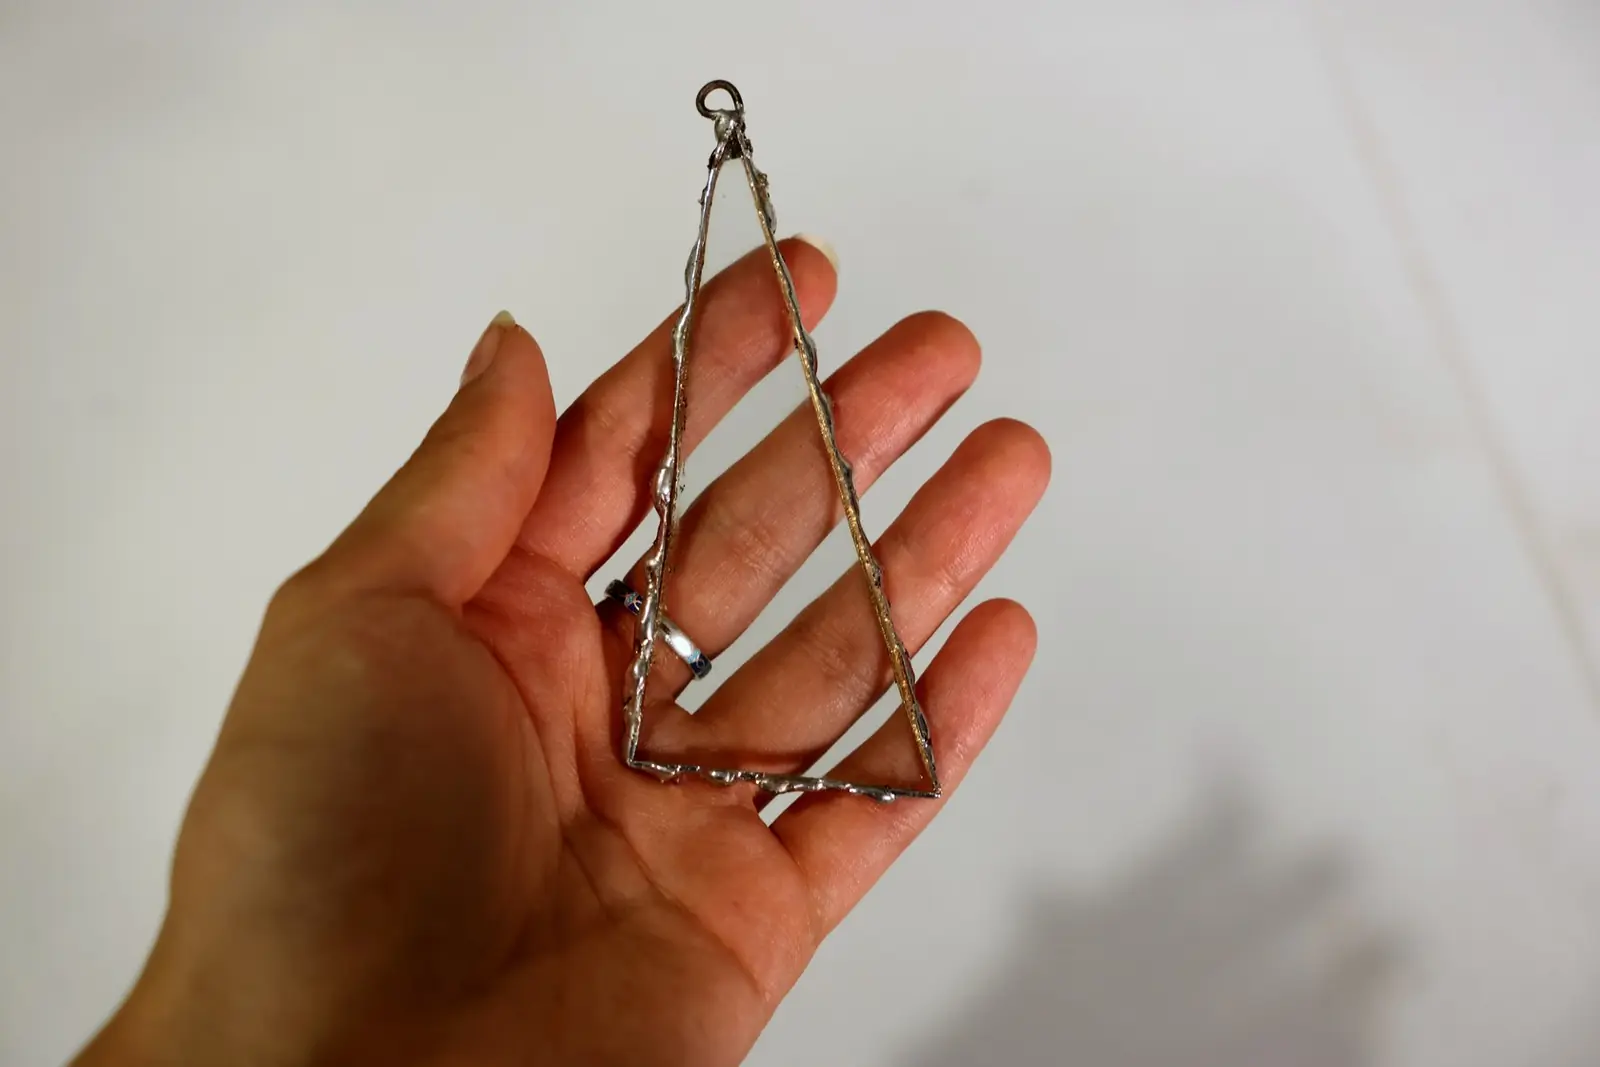
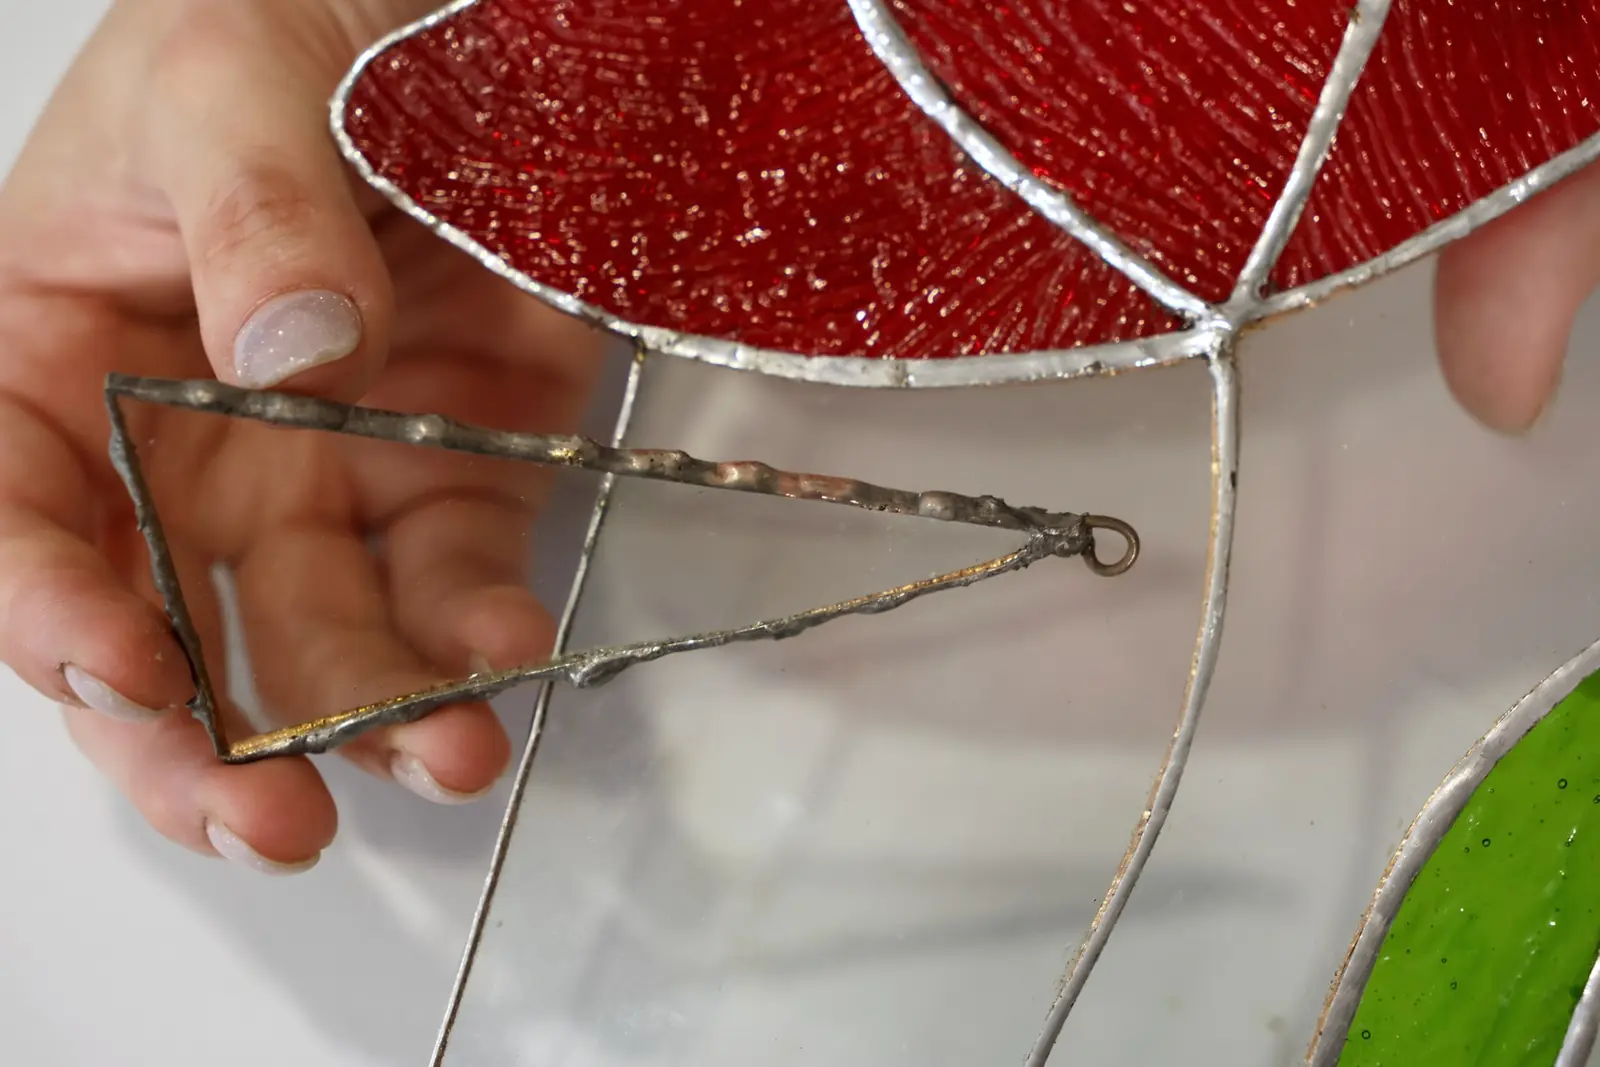
Tack the pieces, solder the front and back and build a rounded bead. Plus the decorative beaded edge.
Choose the color of the seams: how black and copper patina work, what they hide, and why a seam can stay silver.
Bend wire loops, solder them to the piece and choose a cord or chain to match the seams.
A close look at the finished pendant: why textured glass for the flower, why cut along the texture, and what to do next with your own designs.

Daria studied at the Department of Art Glass of Stroganov University in Moscow, where she learned the Tiffany technique. She works with glass, teaches, and takes part in ArtWorker's projects.
Each course page shows the lessons, the project you'll make and what materials you need.
Each course has a lesson listing every tool and material. We don't ship them — most are sold worldwide at art-supply and tile stores, and our materials guide says what to look for.
Short, close-up video lessons you can pause and rewatch. Follow along at your own pace.
Mount and grout your mosaic — the courses cover mounting too, not just setting.
No. The course is made for people who have never held a glass cutter. We deliberately chose a simple design so that you master the whole cycle instead of getting stuck on a difficult detail. Mosaic experience helps, but it isn't required.
The basic set is glass, a glass cutter, cutting oil, pliers, copper foil, solder, flux and a soldering iron. A glass grinder is a separate, larger purchase. Lesson 2 goes through each item, and our guide to where to buy the materials explains what to look for in your country. Materials aren't included, and we don't ship them.
You can start without one, but the quality suffers. A grinder removes sharp edges, brings each piece to its shape and prepares the edge for the foil. Without it the pieces fit less well and the foil sticks less tightly. If you don't have a grinder yet, you can smooth the edges by hand with a diamond hand pad: it's slower and rougher, but acceptable for a first piece.
The videos last about two hours, but stained glass doesn't move at video speed: foiling alone takes several hours. In practice, the piece takes two or three relaxed evenings.
Yes, if you follow the rules: a separate work area in a room nobody lives in, ventilation when you solder, safety glasses and gloves. The first lesson is entirely about safety. If you're pregnant, ask someone else to do the soldering; every other stage is open to you.
In this course you learn to make the design yourself: on a simple motif we show how to turn a photo into a working pattern, what to remove, what to simplify and how to choose a palette. That's more useful than a template, because you can then work with any motif you like. Our app andamento.app can also draw a first version of a stained glass design from a photo or a description.
A hanging piece of stained glass, sometimes called a suncatcher: a poppy on a clear background, with two loops at the top for a cord or chain. Hang it in a window, on a door or on a wall, or stand it on a shelf.
12 months from purchase. Watch the lessons at your own pace and come back to them whenever you need.
Yes. Write to us through the contact page: mention the lesson and the minute of the video, and attach a photo of your work. We'll answer by email.
No. Each purchase is for one person. Sharing your login or the course materials breaks our Terms, and we may close the account without a refund.
Tell us what you'd like to make and your experience — we'll suggest a course. We reply within a few days.
Three core materials, the essential tools and three setting techniques. Simple hands-on exercises build the habits every mosaic artist needs.
Learn to create your own mosaic sketch from scratch — on paper or digital tablet. No art background needed.
Work with smalti glass, master the reverse (indirect) method and mount a finished piece onto a substrate. You complete a full 55 cm (22 in) mosaic during the course.